Offline AI Integration. Self-Hosted AI Tools for Text and Images
Last year, we introduced OpenAI integration, bringing powerful AI functionality to WYSIWYG Web Builder.
Over the past year, AI technology has evolved significantly, and it's now even possible to run AI services directly on your local computer!
With version 20, we've taken this to the next level by integrating with a selection of robust local AI tools:
- Ollama for text generation
- ComfyUI for image creation (supporting Flux, Stability AI, and more).
Best of all, these tools are completely free, meaning there are no usage fees or limitations, unlike many paid online services, allowing you to create as many high-quality images and text as you want without any additional costs!
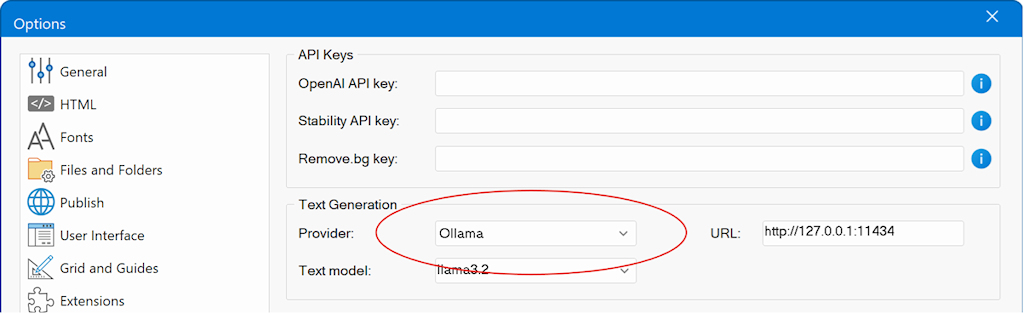
Ollama Integration (beta)
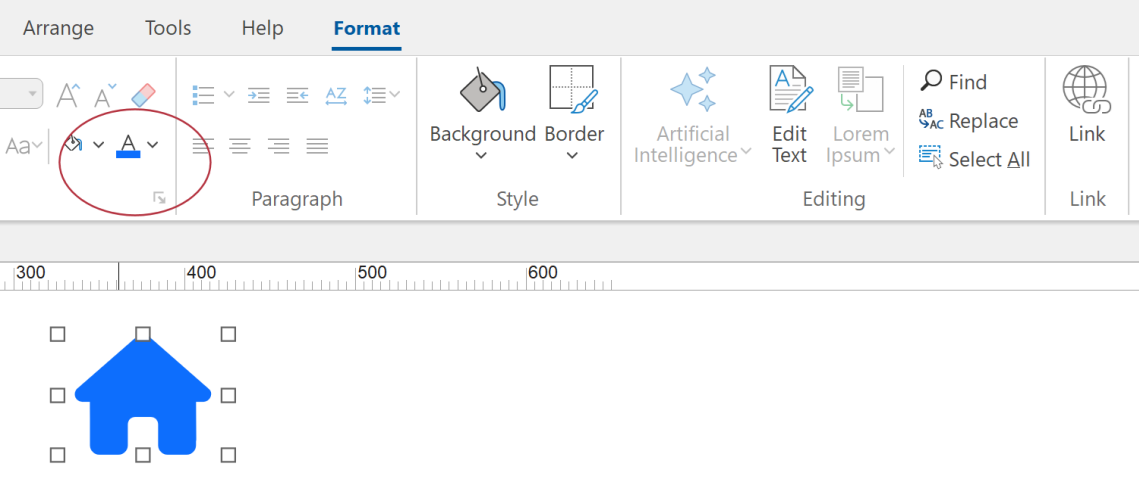
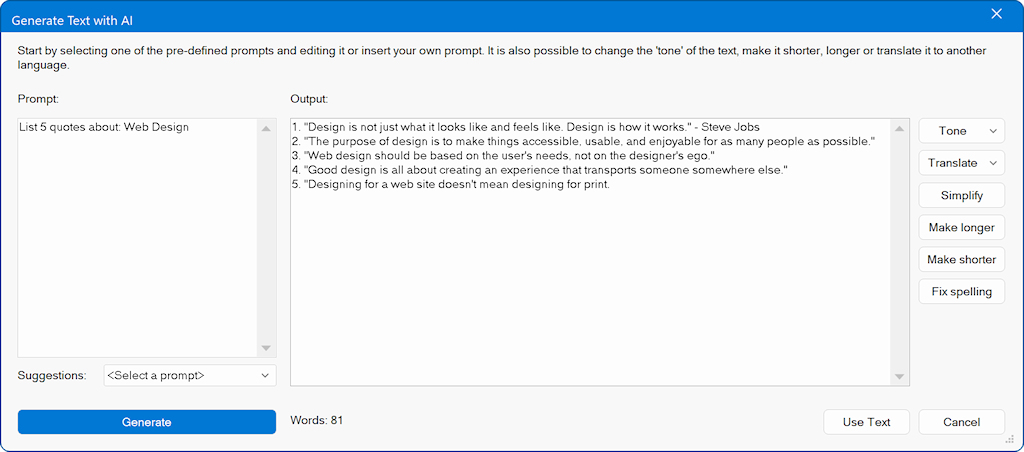
WYSIWYG Web Builder 20 now integrates with Ollama, enabling you to generate, translate, and enhance text using AI directly on your local computer.
Ollama is a platform designed to enable local installation and use of AI language models laptops or desktops. Unlike cloud-based AI services that require internet access to connect to servers, Ollama focuses on providing private, offline, and secure access to AI capabilities. It supports interactions with large language models directly from the user's machine, which can be especially useful for maintaining data privacy and reducing dependency on remote servers. Ollama supports popular language models like Llama 3.3, Mistral, Gemma 2, and other large language models.
Note: This functionality requires a modern, fast computer for optimal performance!
Most OpenAI-related text features introduced in version 19 last year are compatible with Ollama. This means you can now access these powerful tools without needing an OpenAI account.
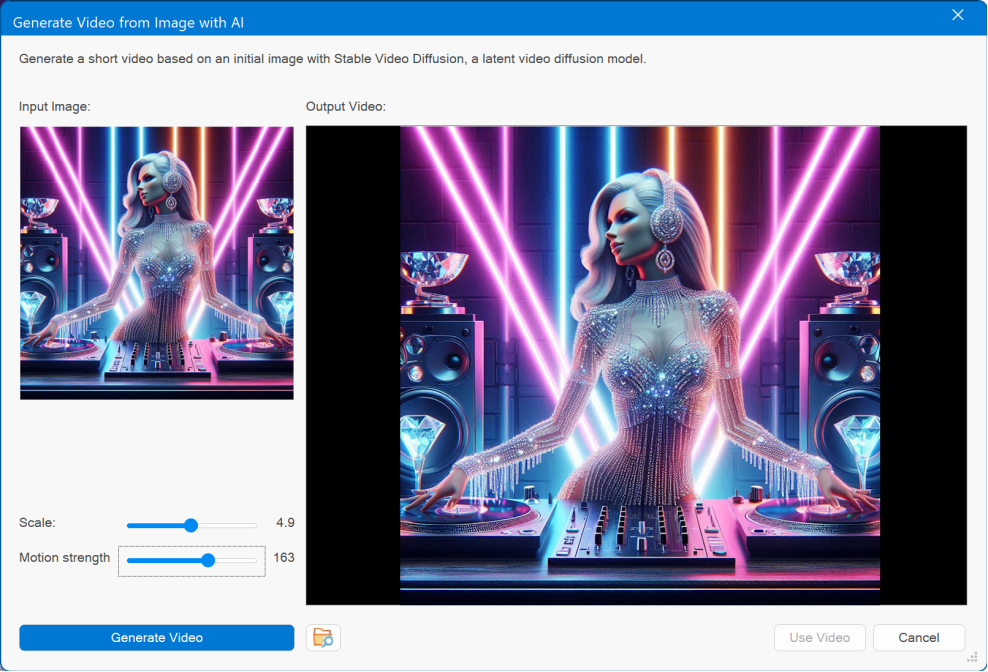
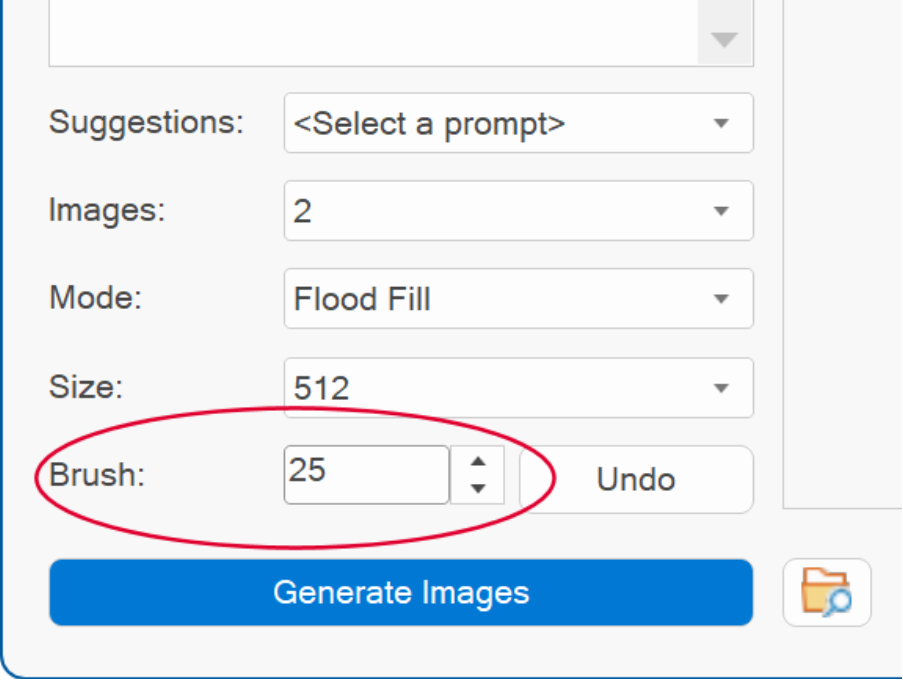
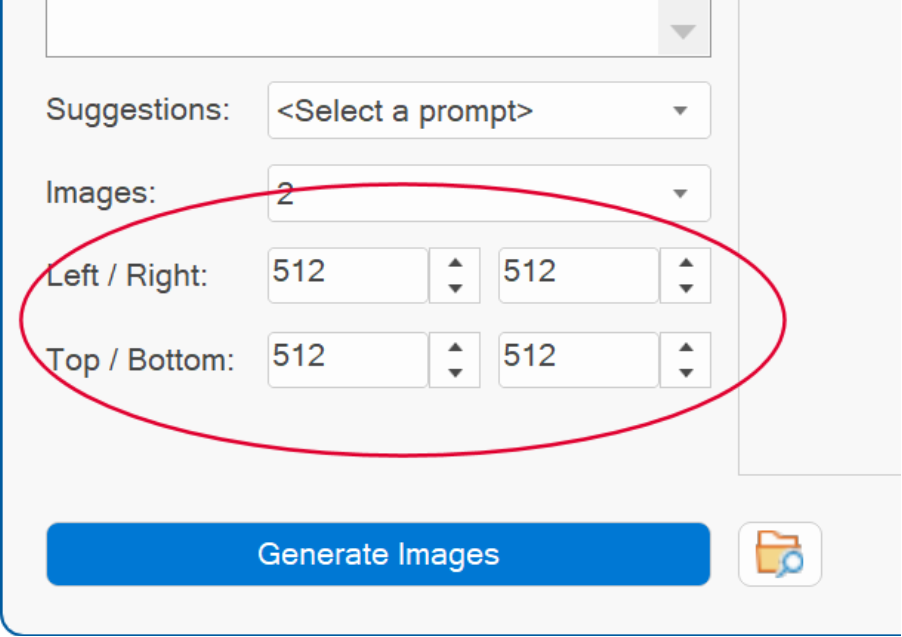
 ComfyUI Integration (beta)
WYSIWYG Web Builder 20 also integrates with ComfyUI, allowing you to generate unlimited high-quality images using AI directly on your local computer.
ComfyUI is a powerful and popular open-source tool that supports AI models like Stable Diffusion and Flux, enabling you to create stunning images.
• Free and Open-Source: ComfyUI is completely free, with no usage fees or limitations.
• Full Customization: It offers detailed control over every step of the image generation process, allowing for deeper customization that many online platforms don't provide.
• Offline Use: You can run it locally on your computer, so you don't need internet access and avoid server downtimes or restrictions.
• Privacy: Since everything runs on your machine, there's no need to upload data or prompts to external servers, protecting your privacy.
• No Usage Limits: ComfyUI doesn’t limit the number of images you can generate, unlike online services that often cap usage based on credits or subscriptions.
• A fast computer/GPU is required to run ComfyUI effectively!
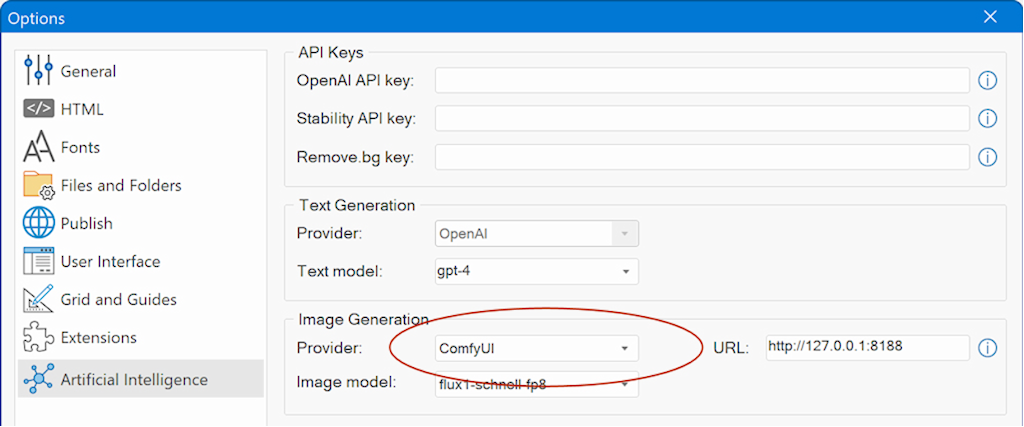
Note: This feature is intended for advanced users. You'll need a powerful computer and will have to set up ComfyUI on your own.
However, ComfyUI offers exceptional capabilities, which is why we've included it as an alternative to paid services like OpenAI and Stability AI.
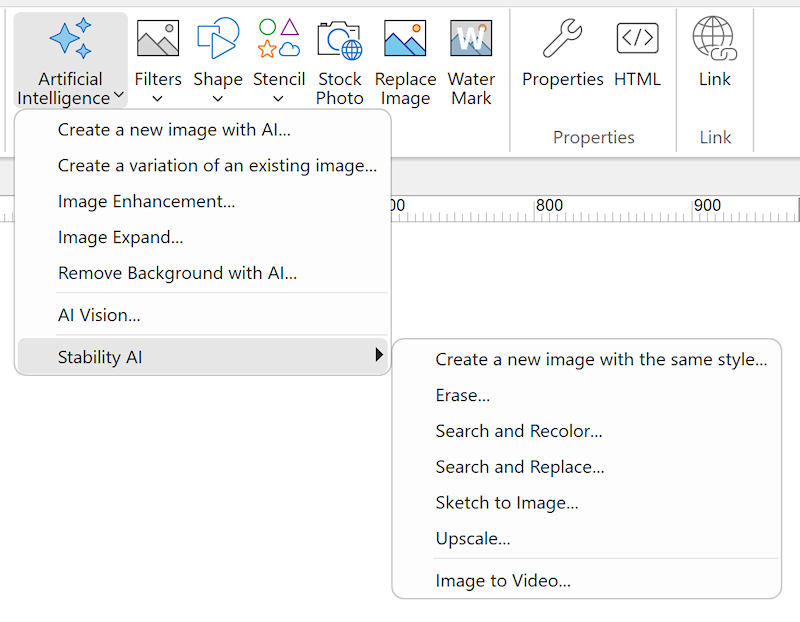
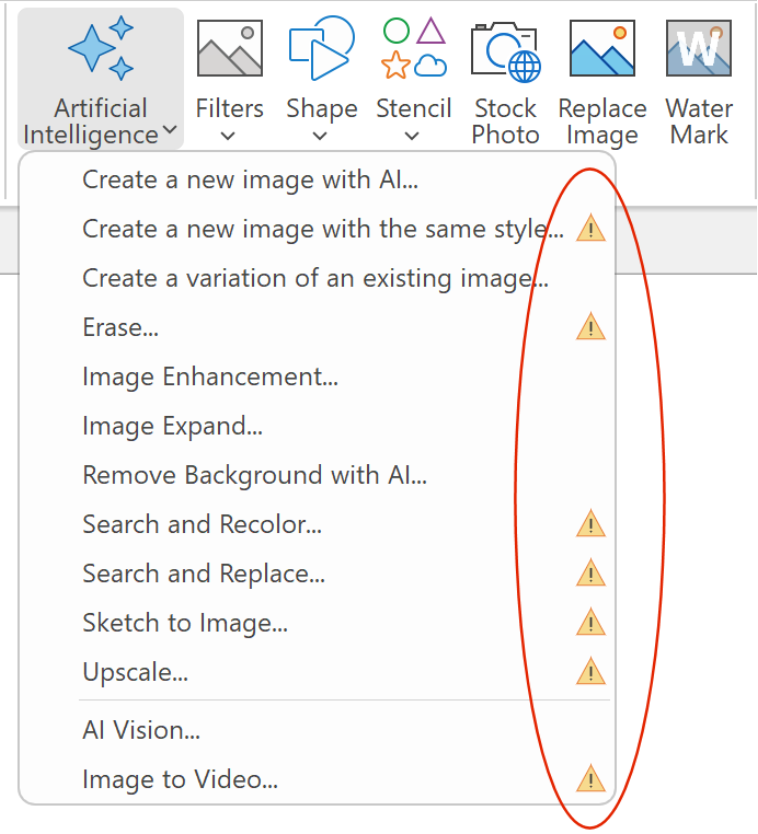
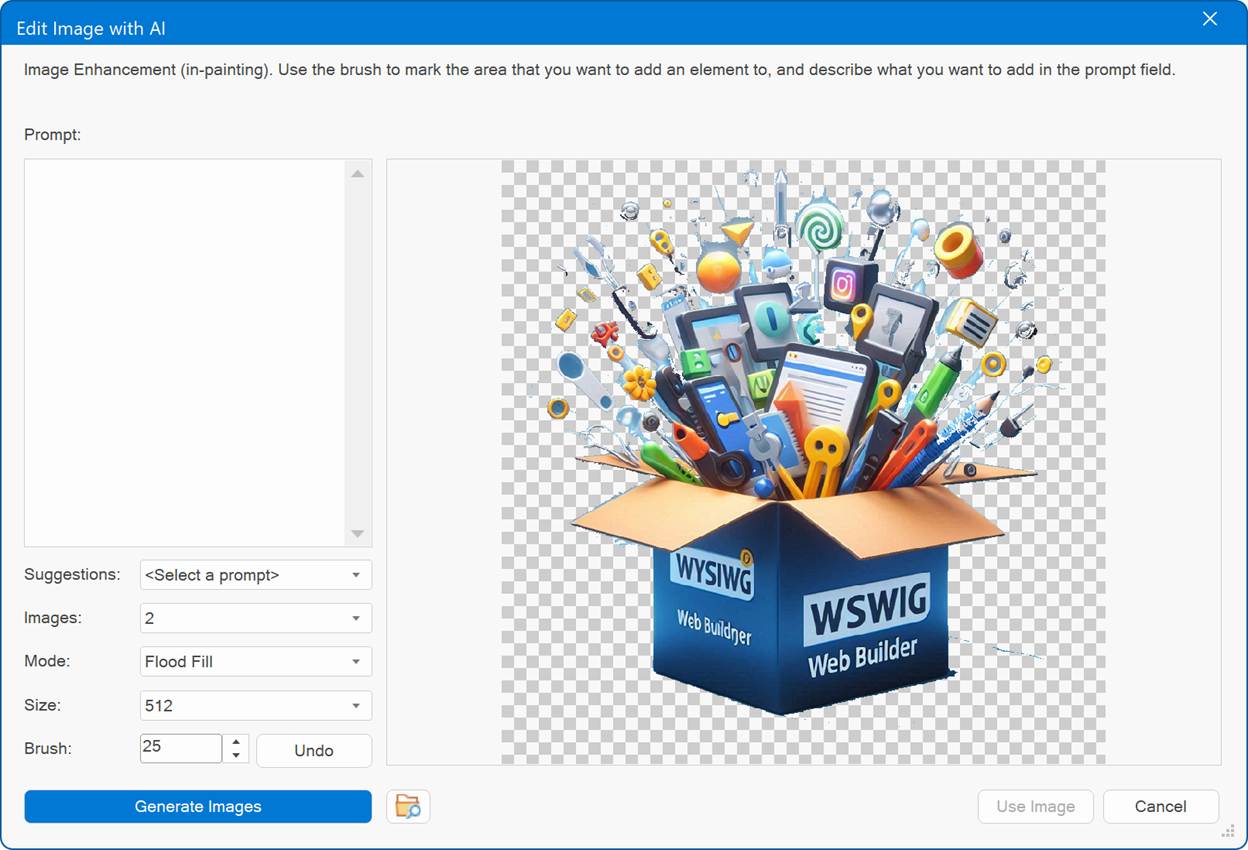
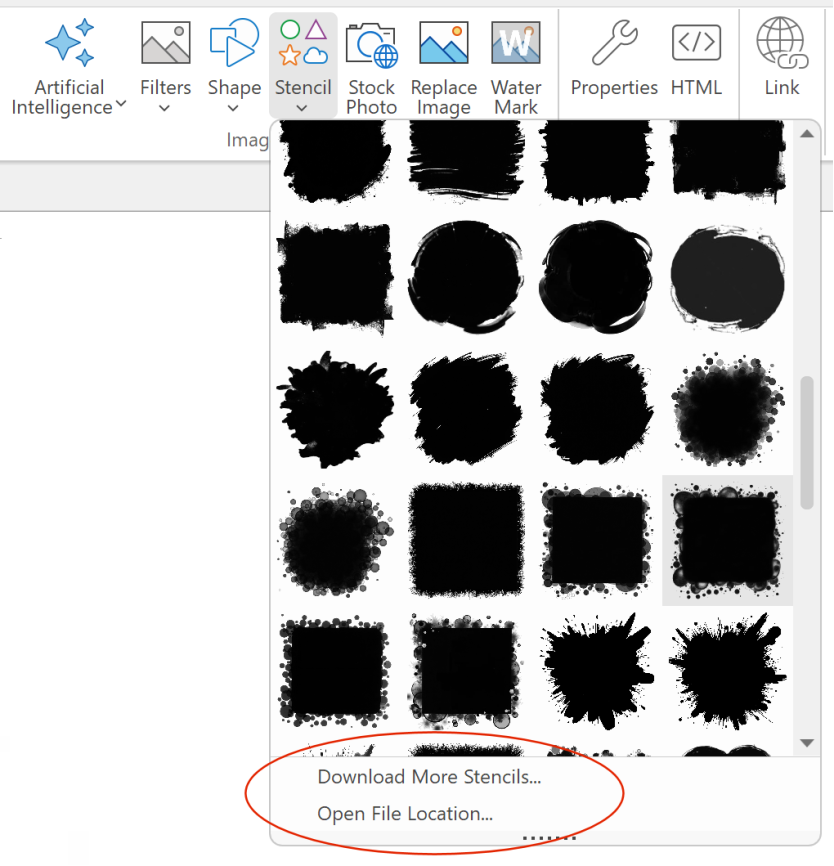
Currently ComfyUI can be used to generate images and remove backgrounds.
It does not yet offer features such as outpainting, inpainting, or variants.
However, these features will be included in a future update.
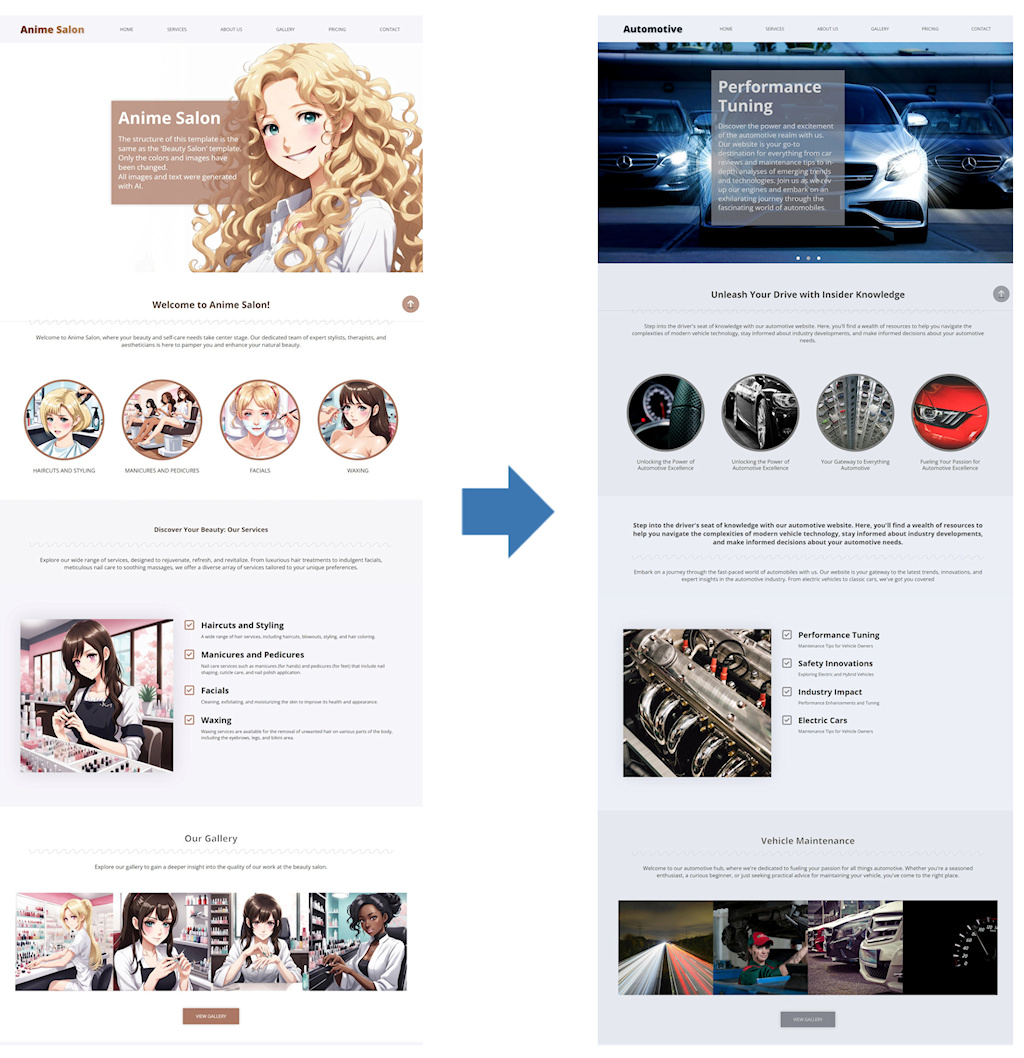
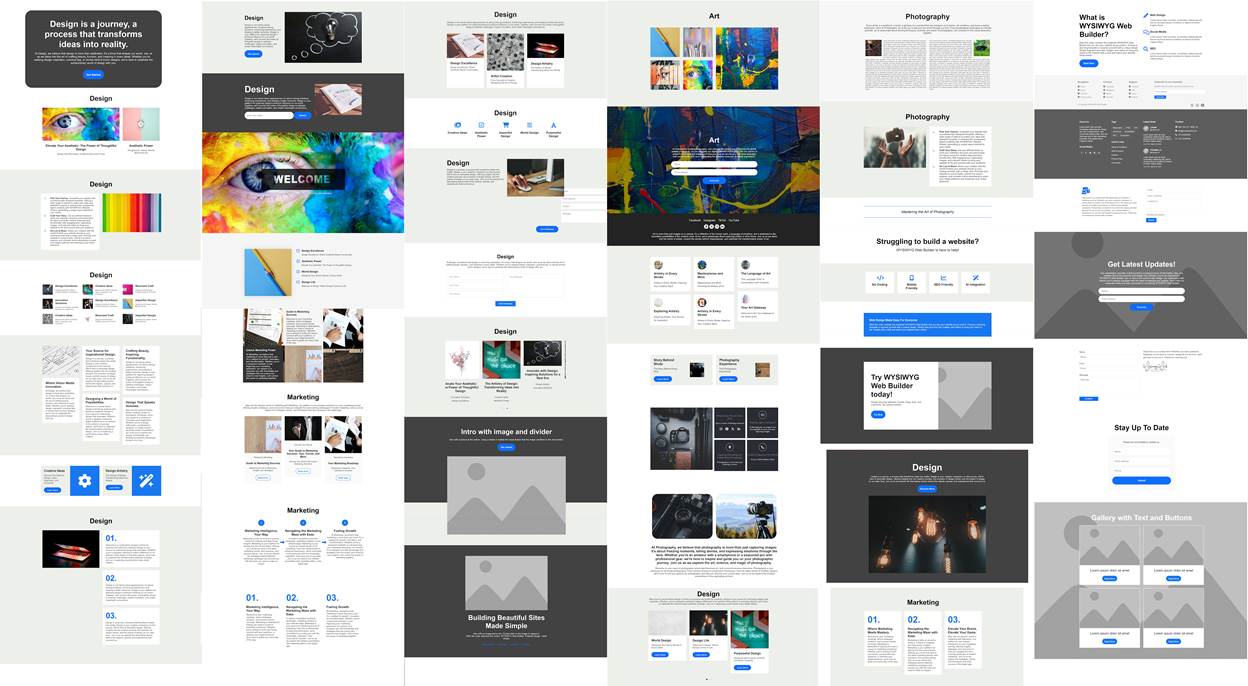
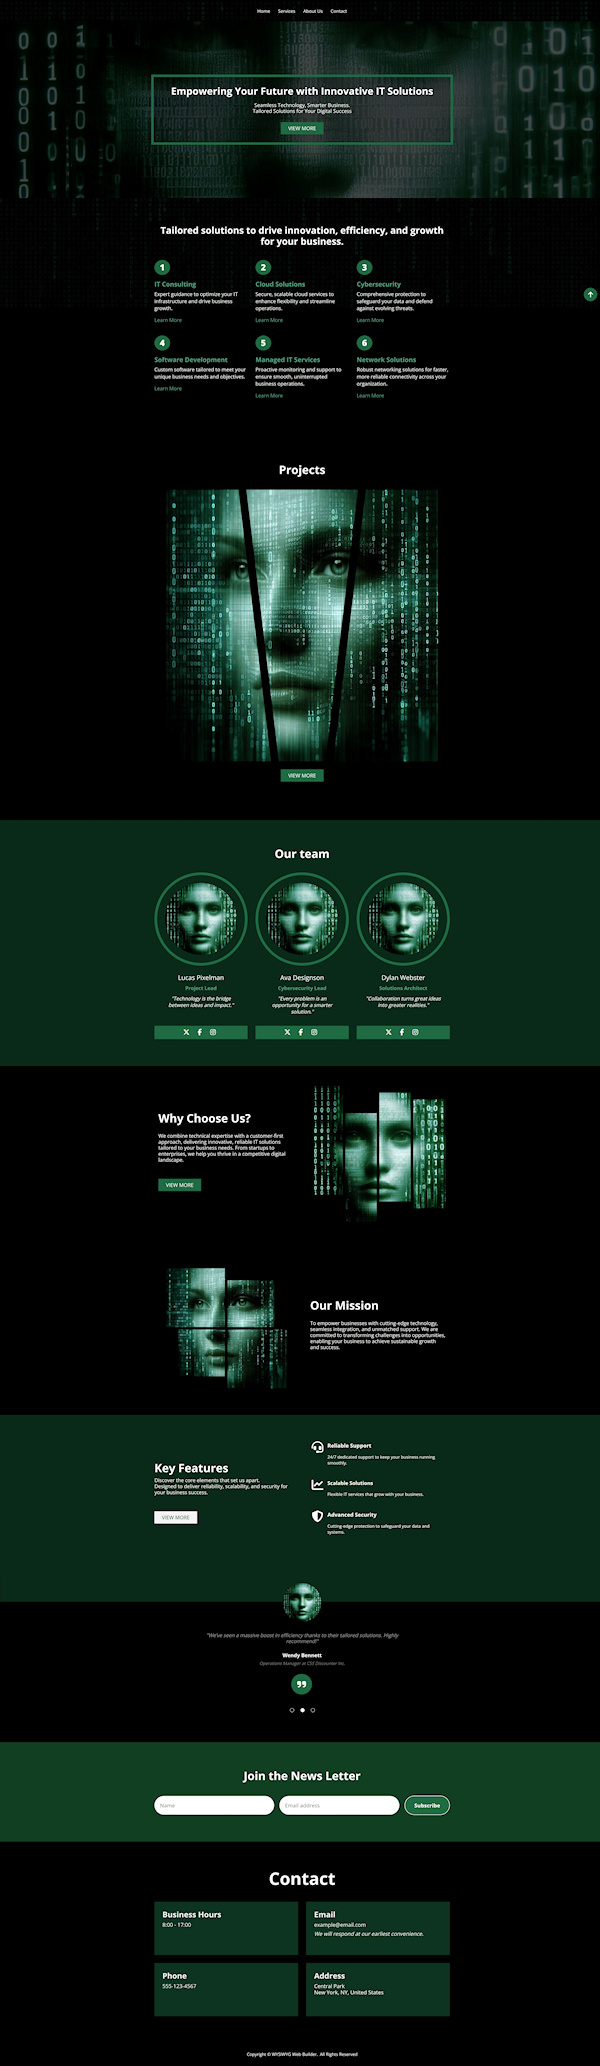
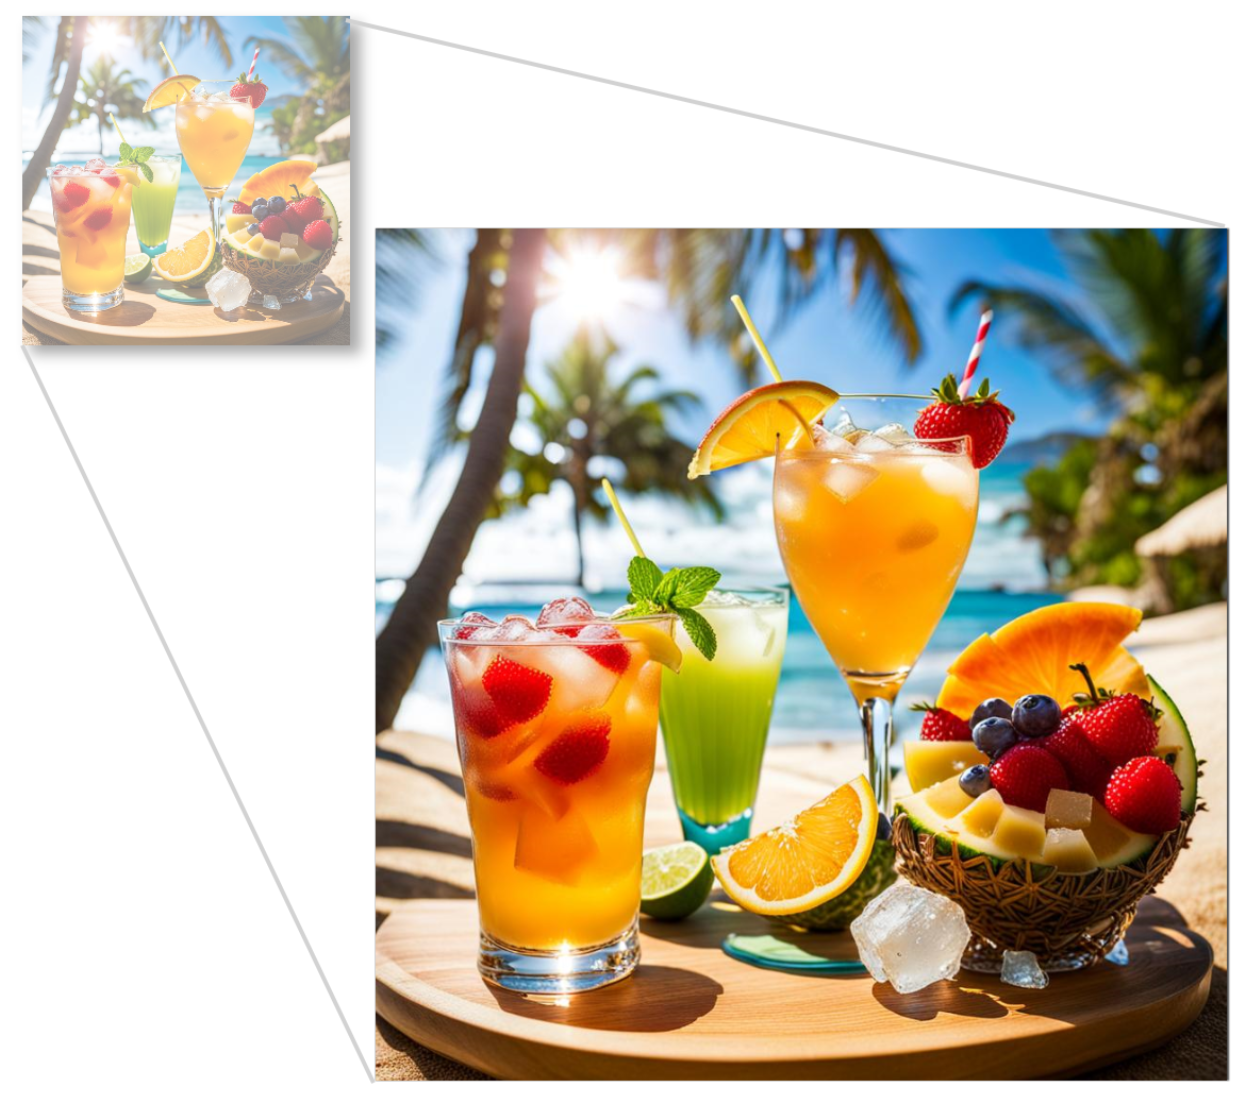
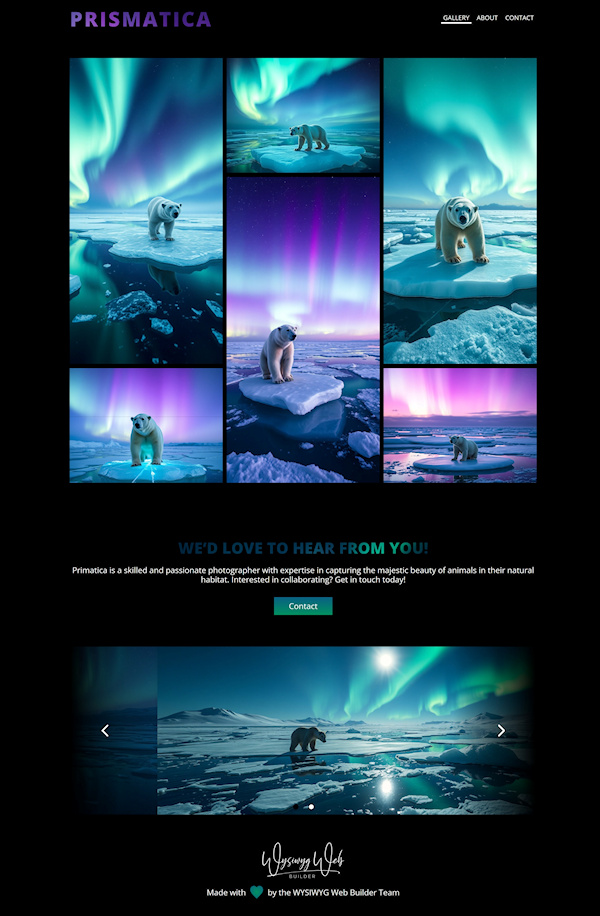
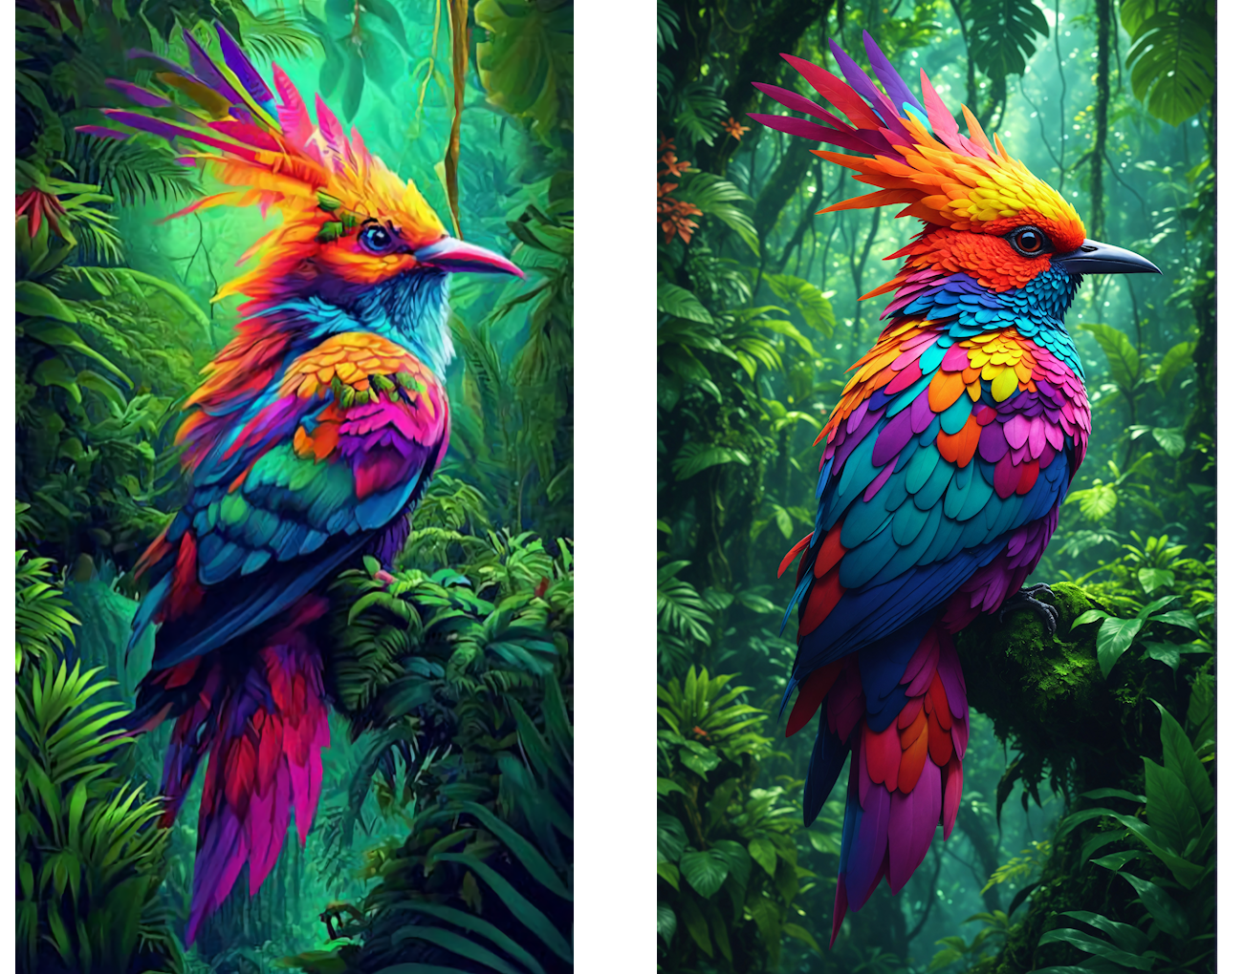
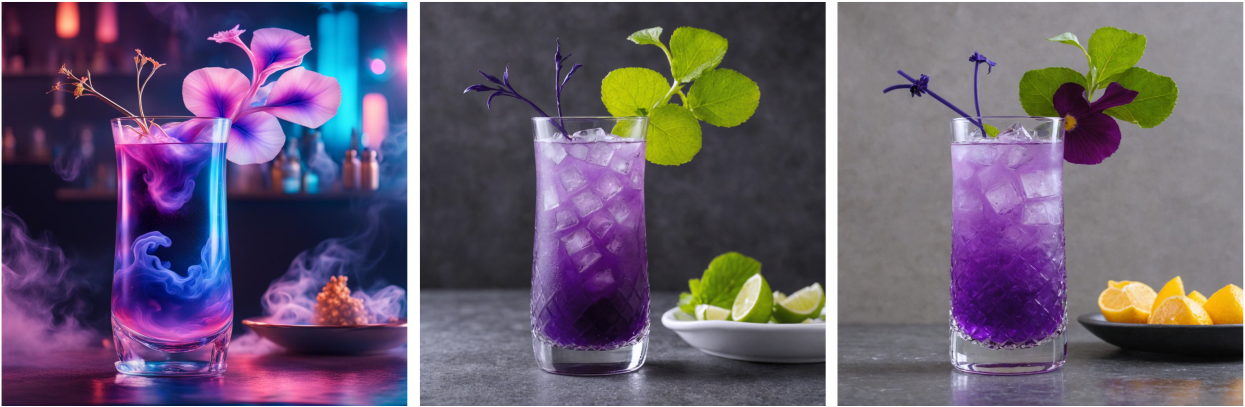
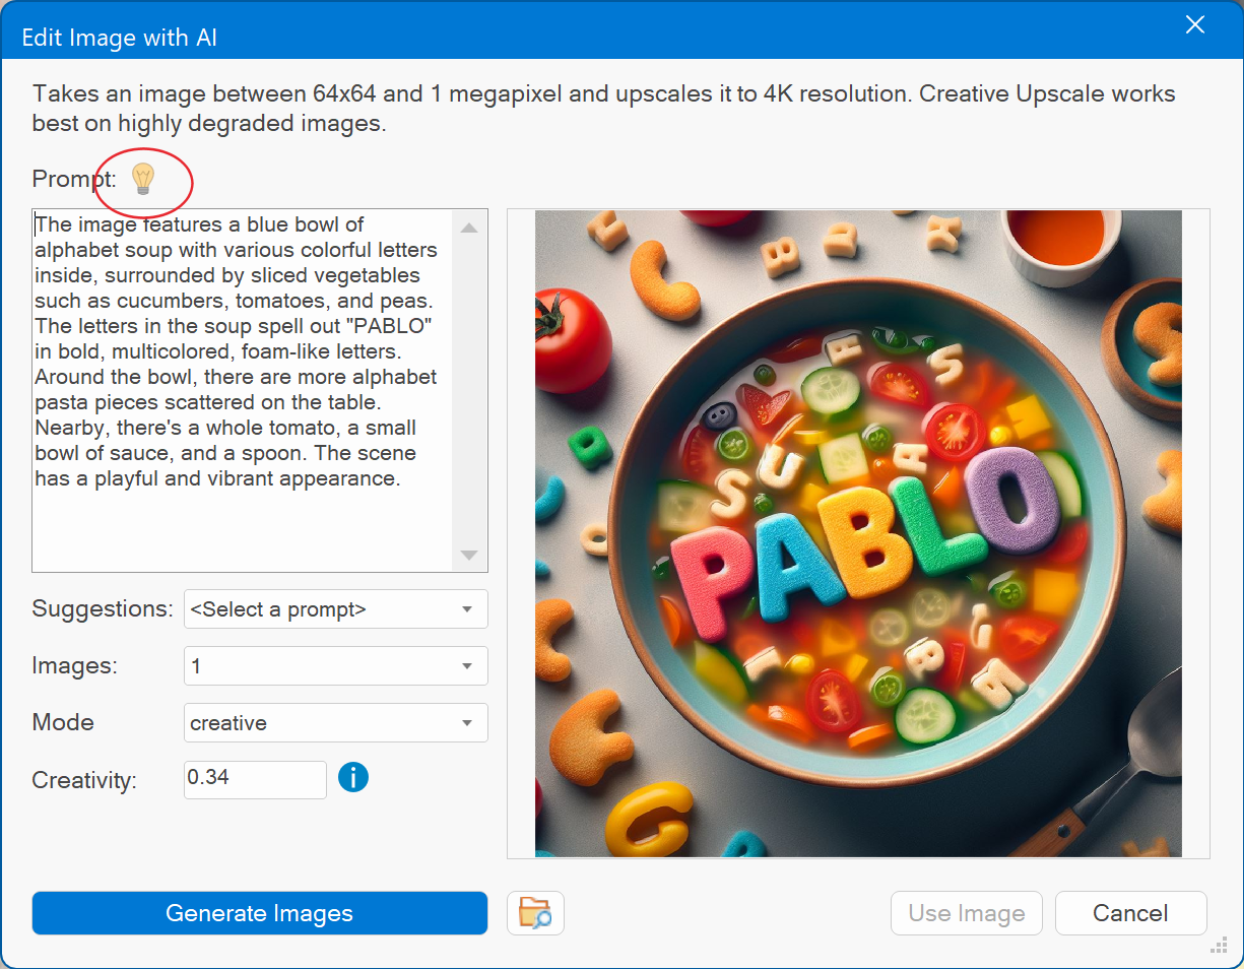
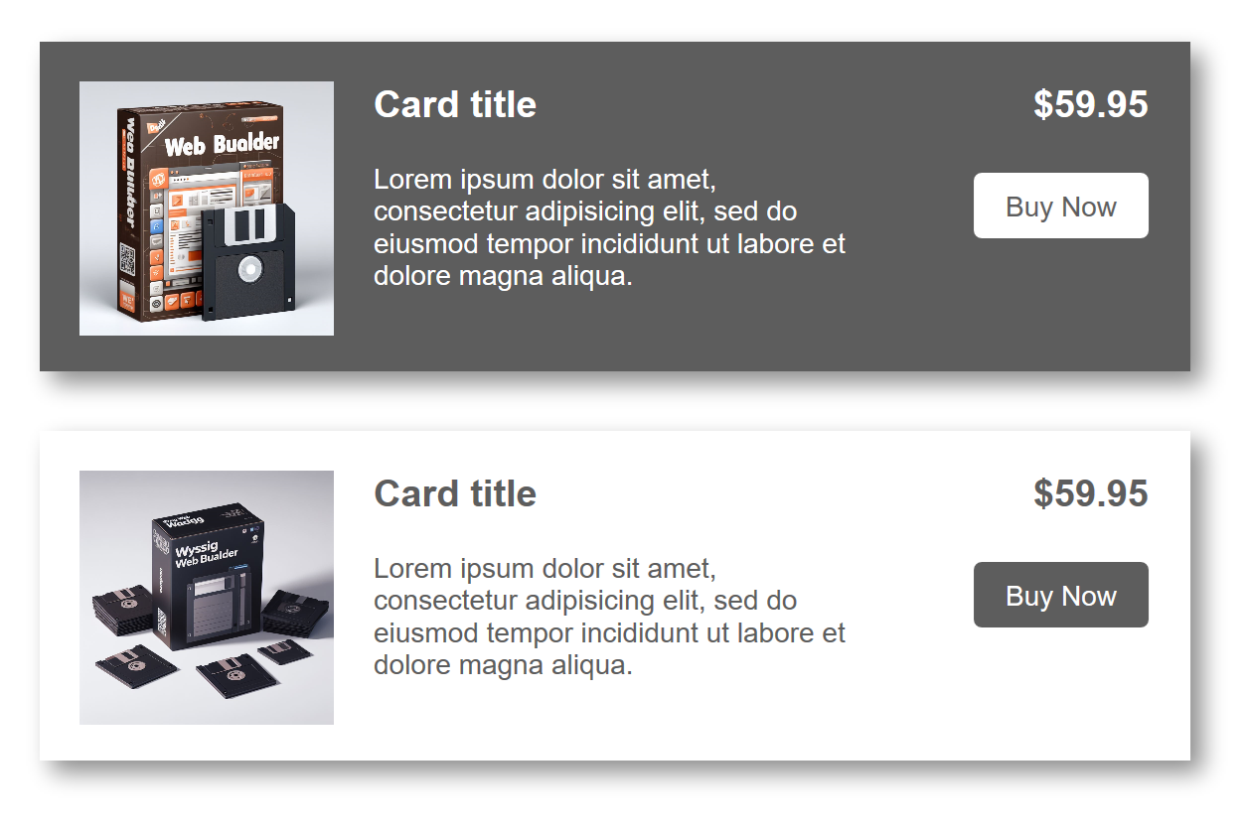
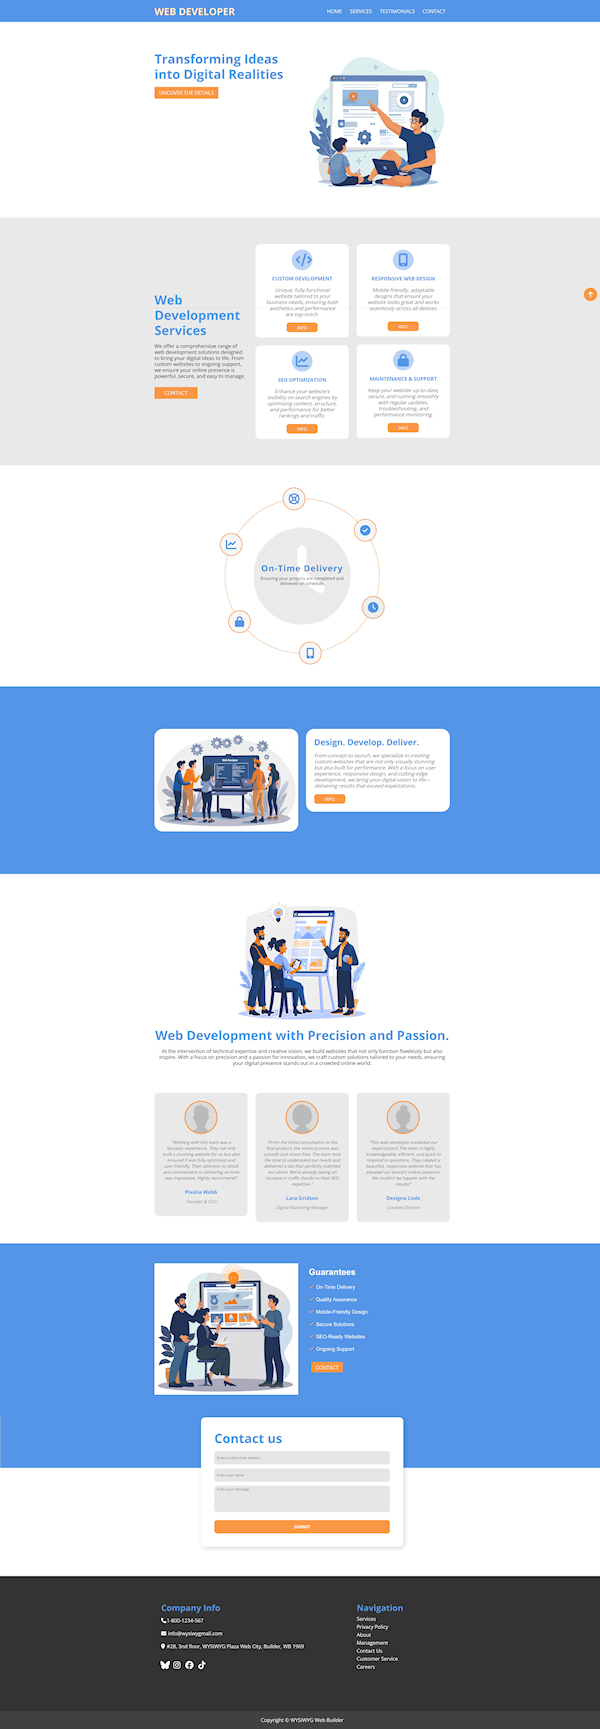
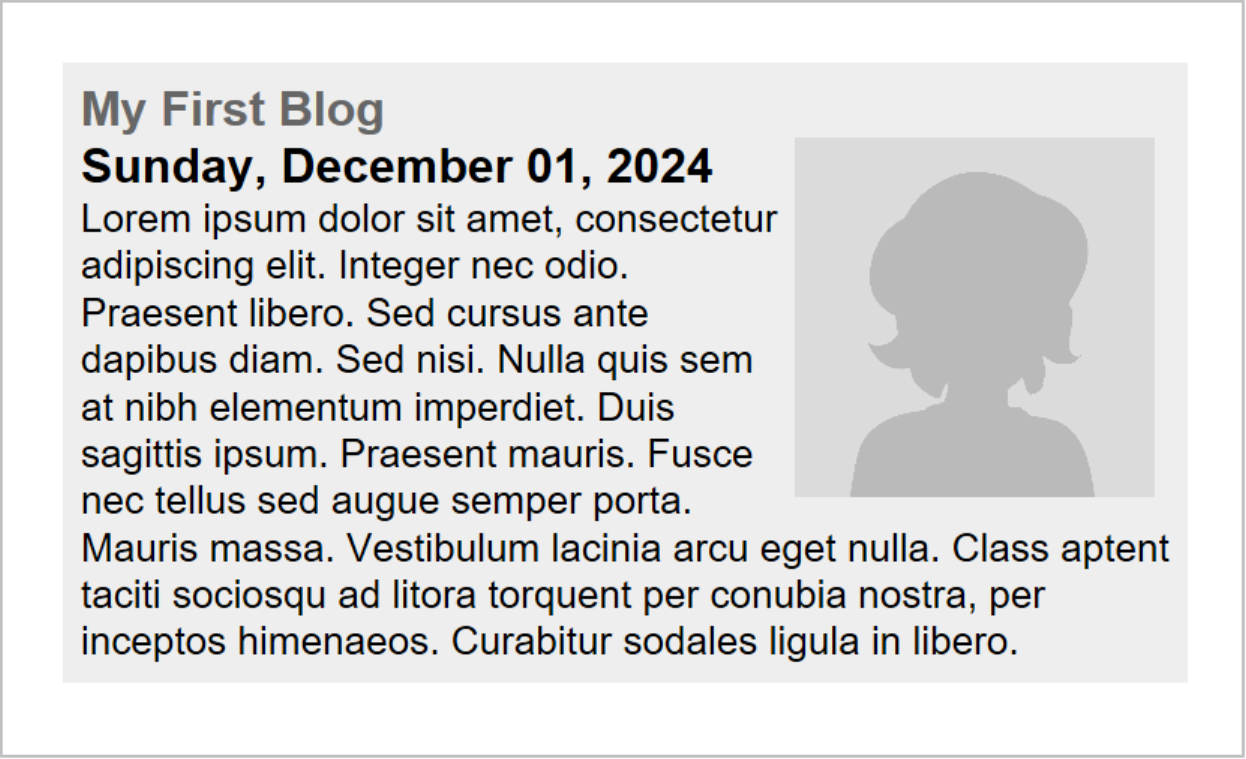
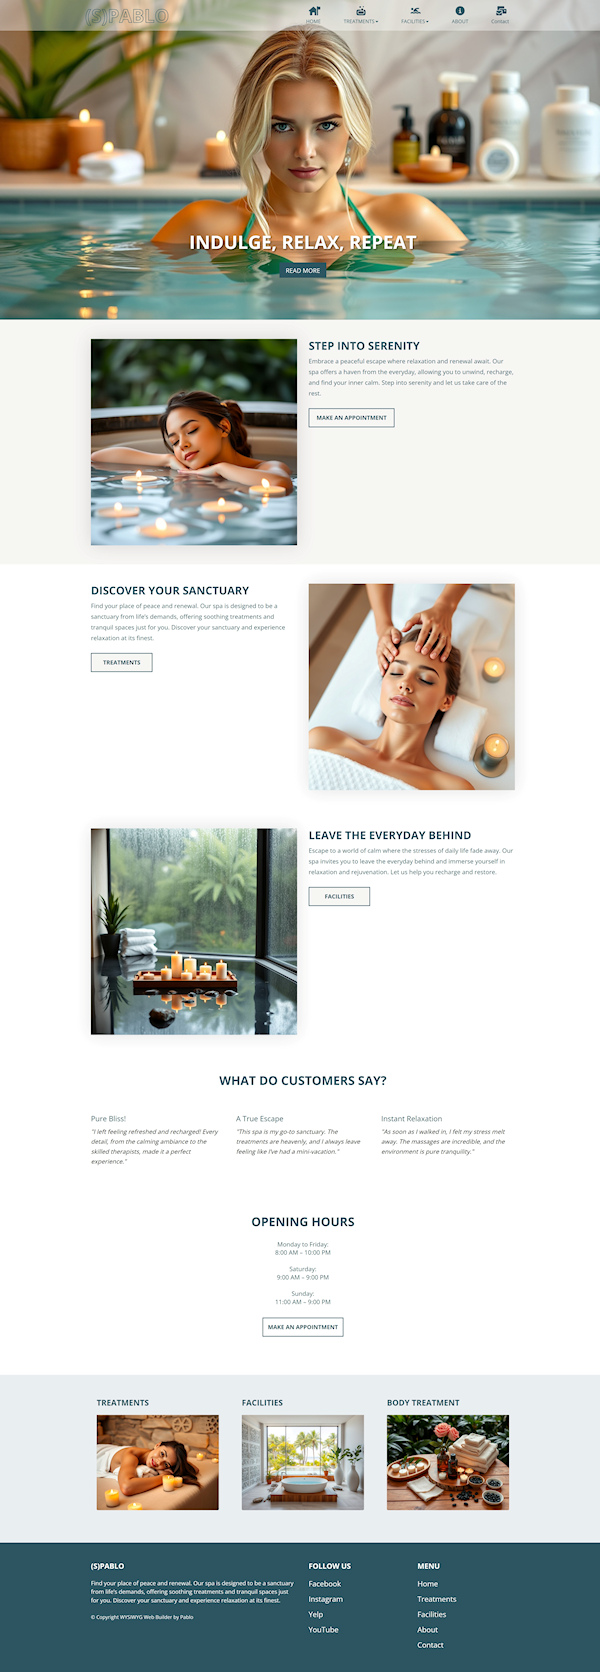
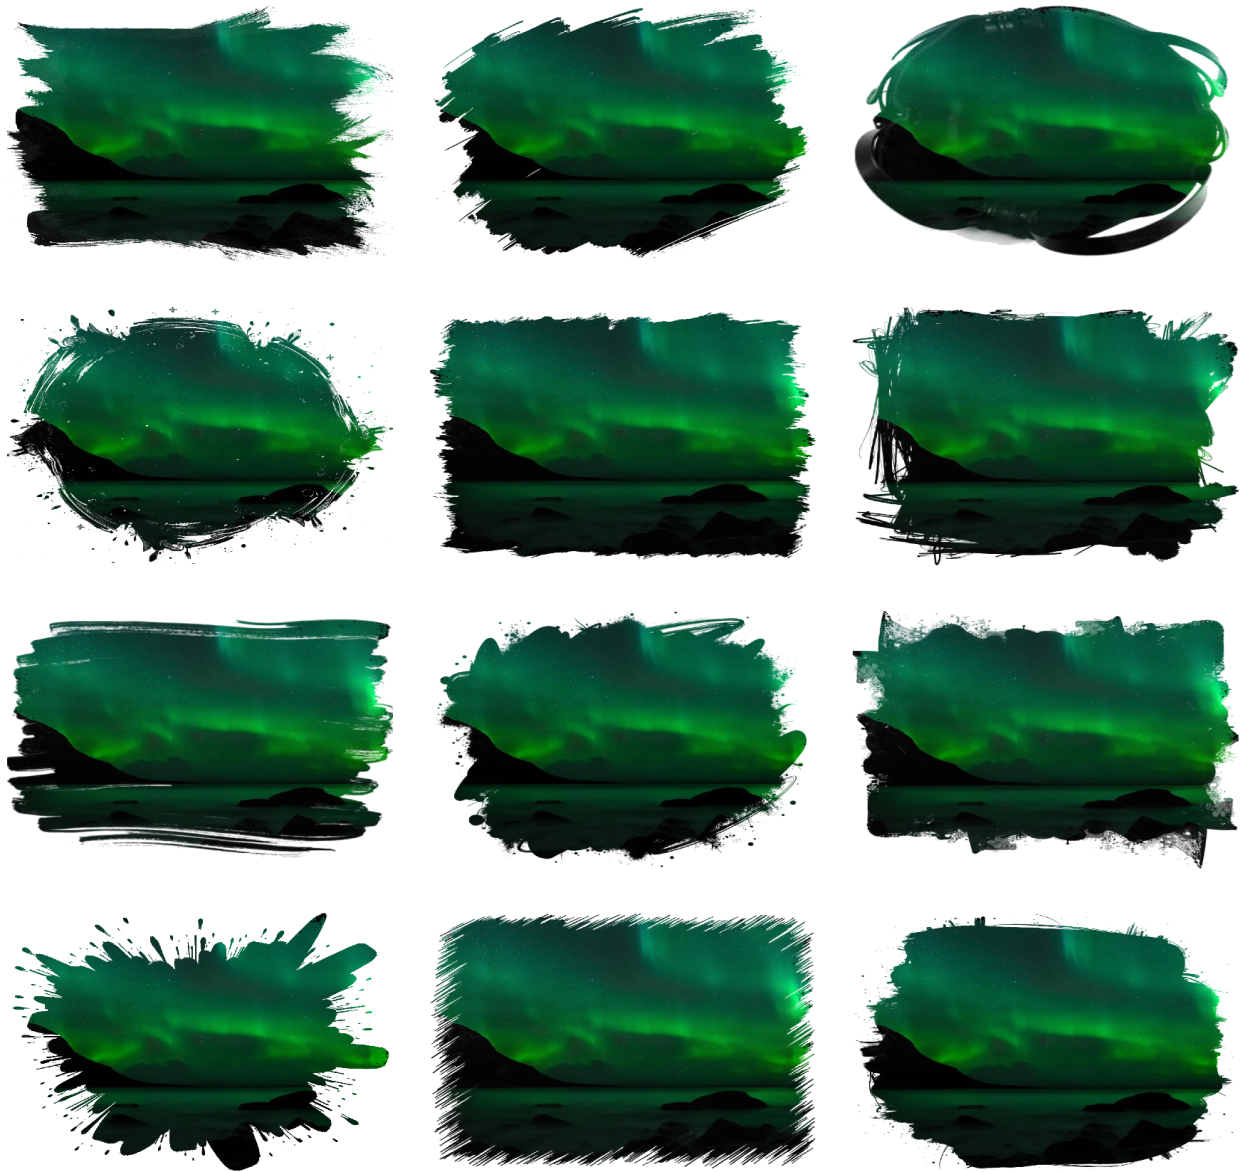
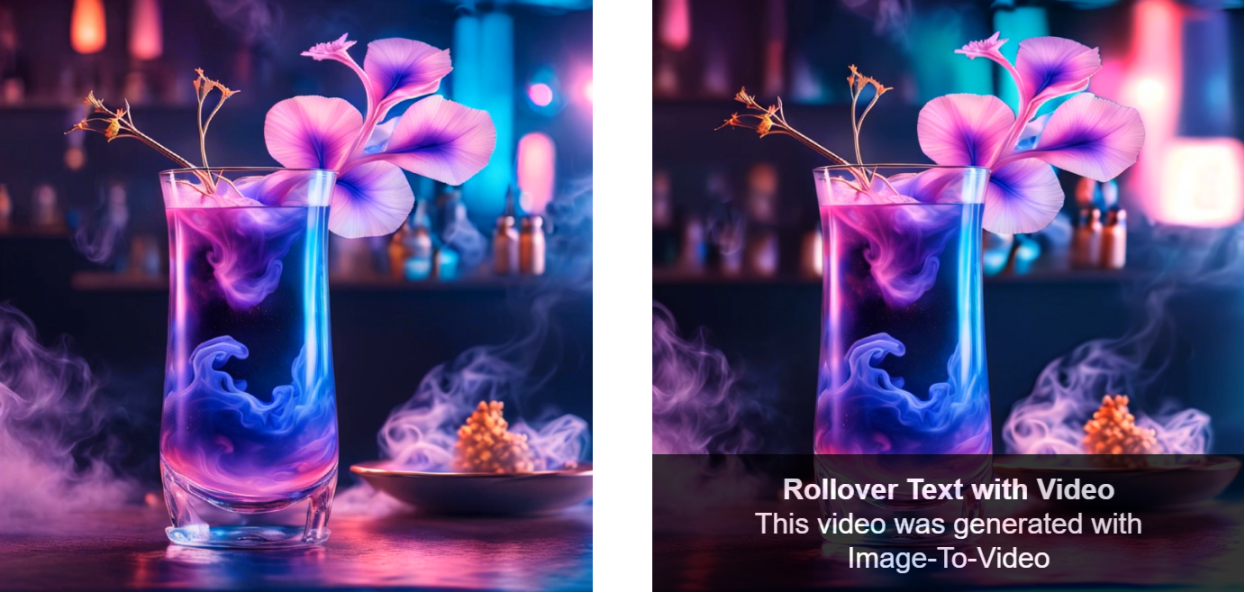
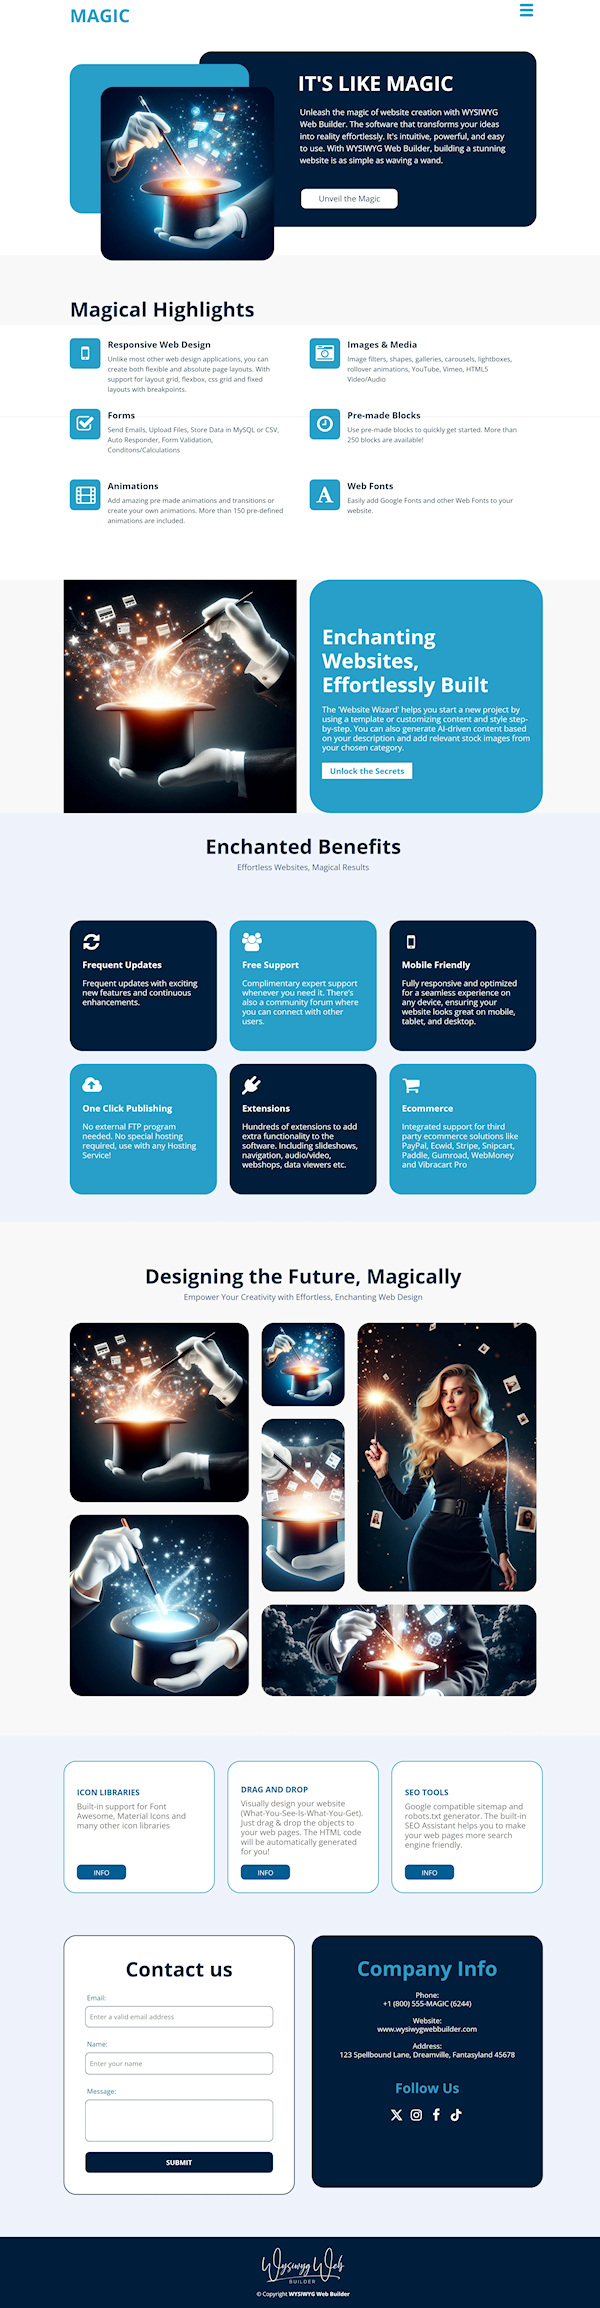
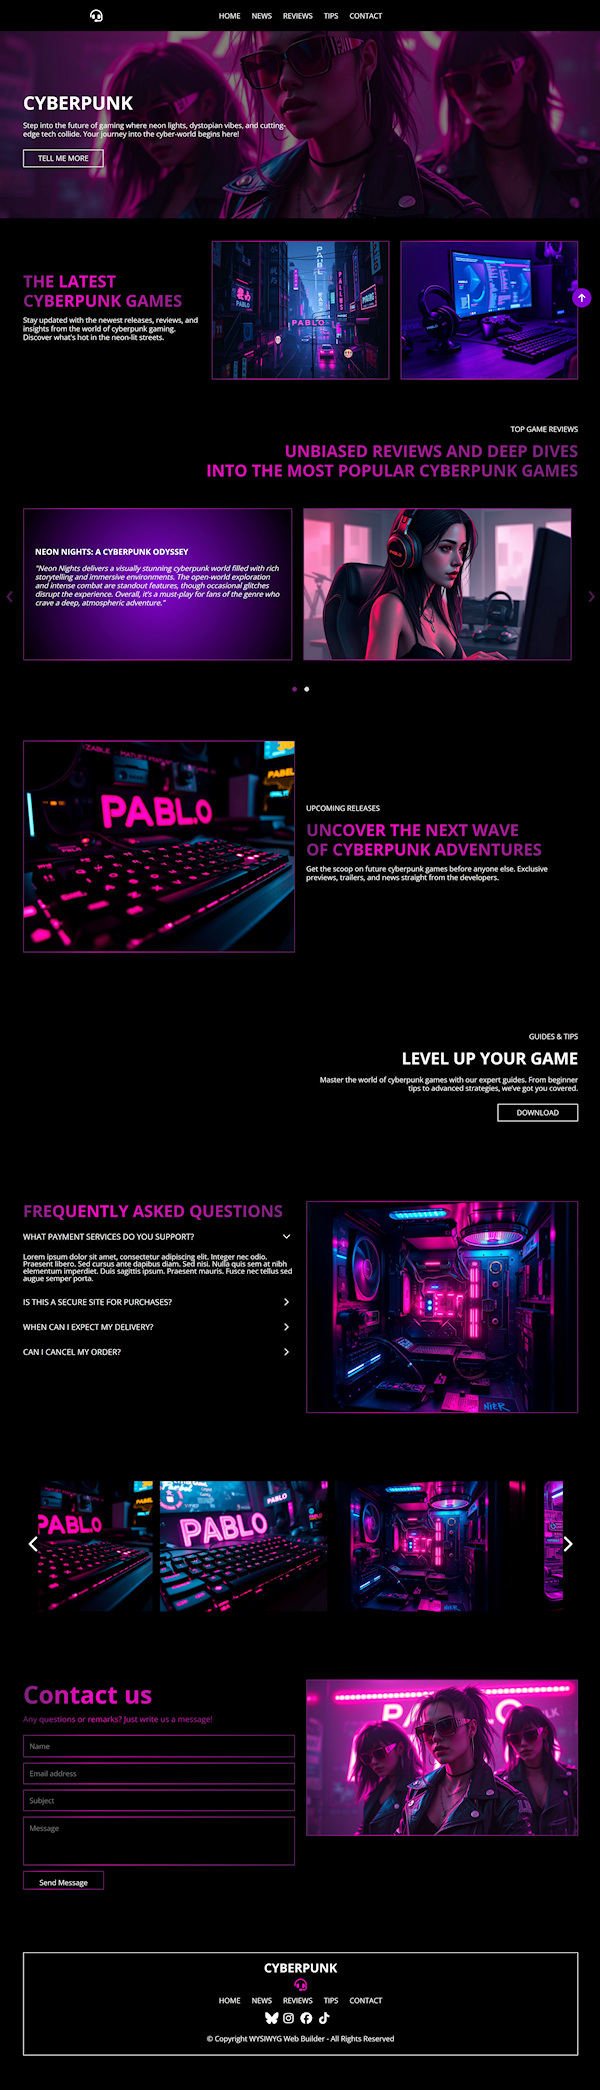
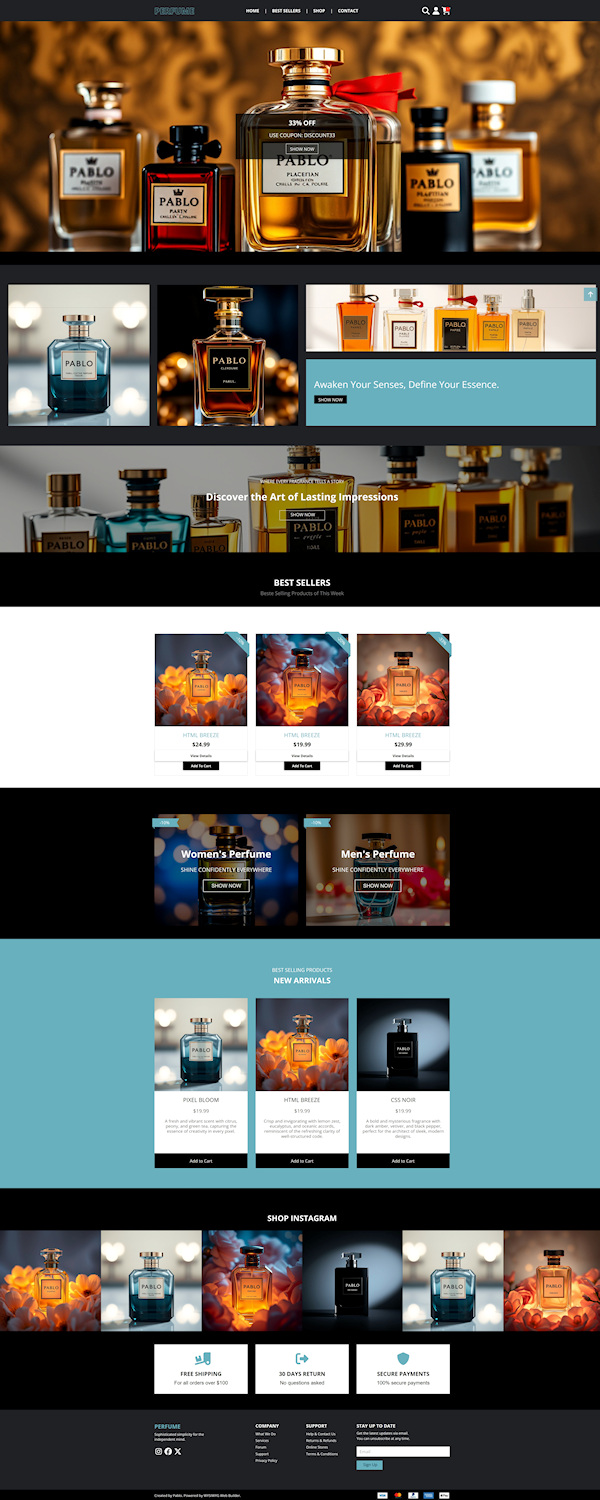
These images were generated by ComfyUI and the popular ‘Flux’ model. Flux is currently one of the best image generation models.
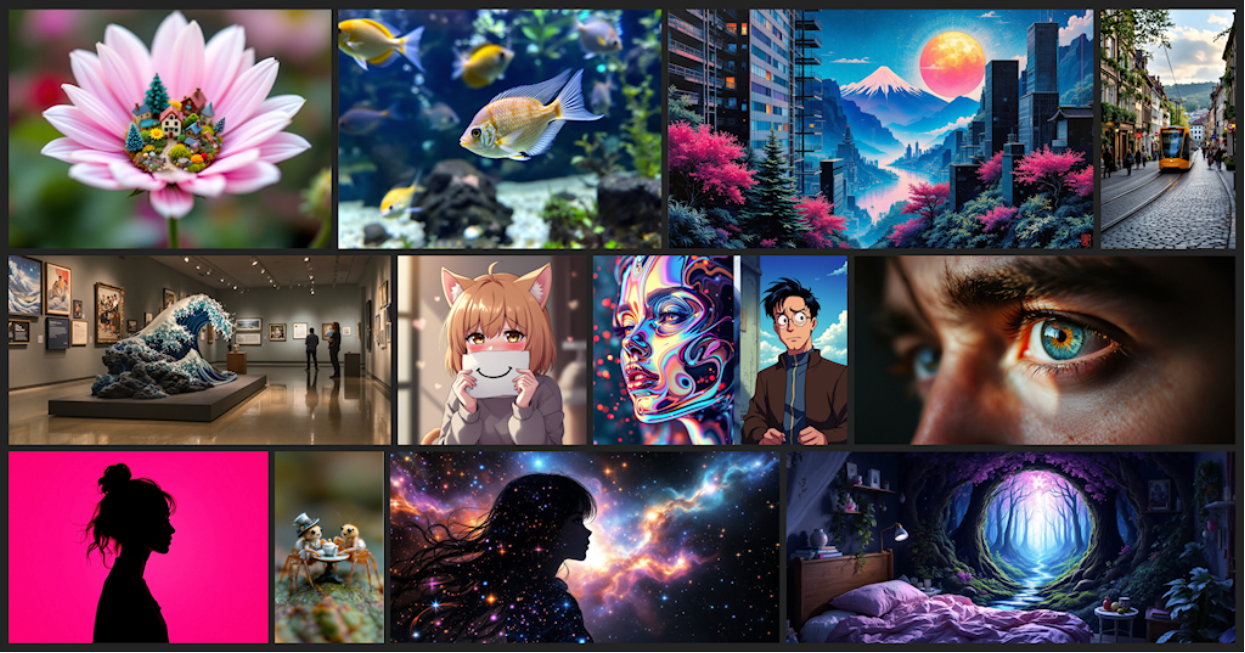
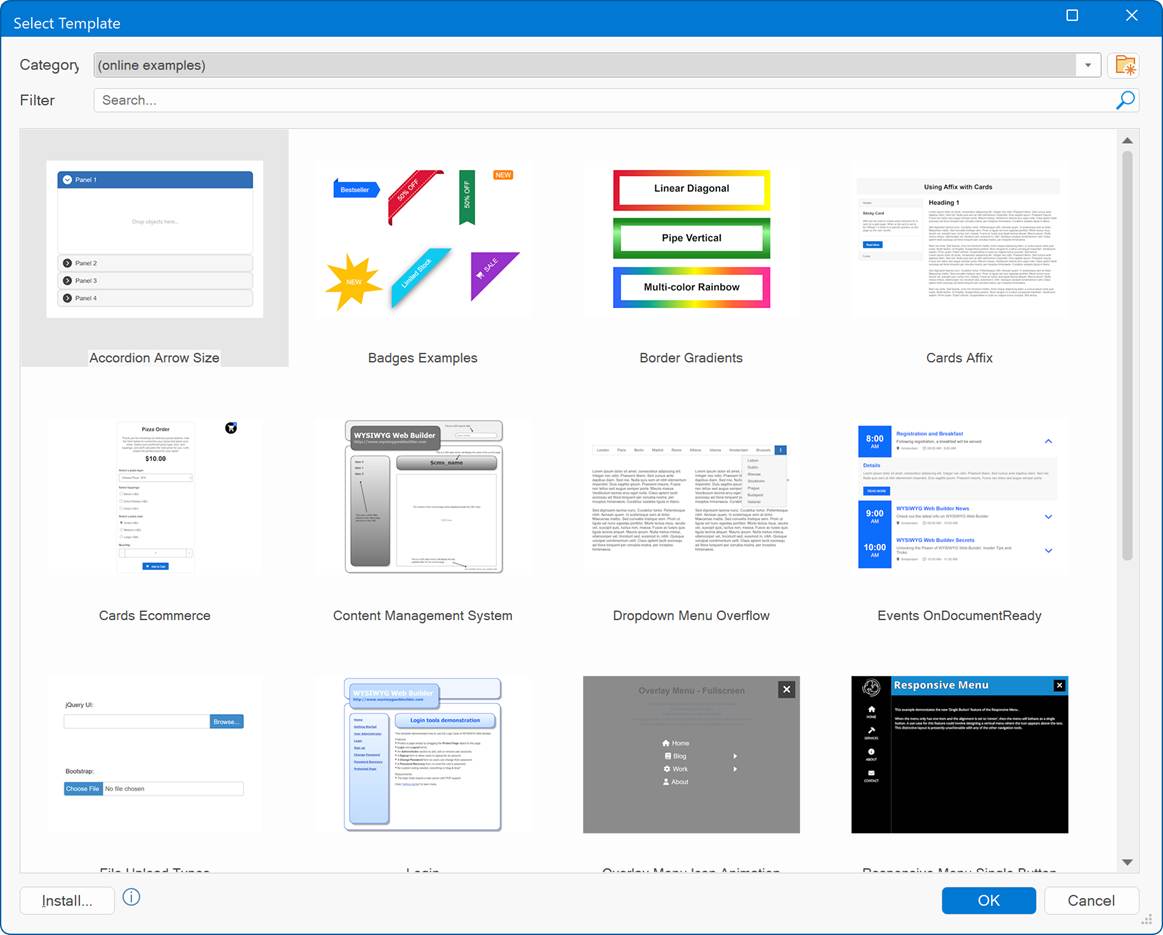
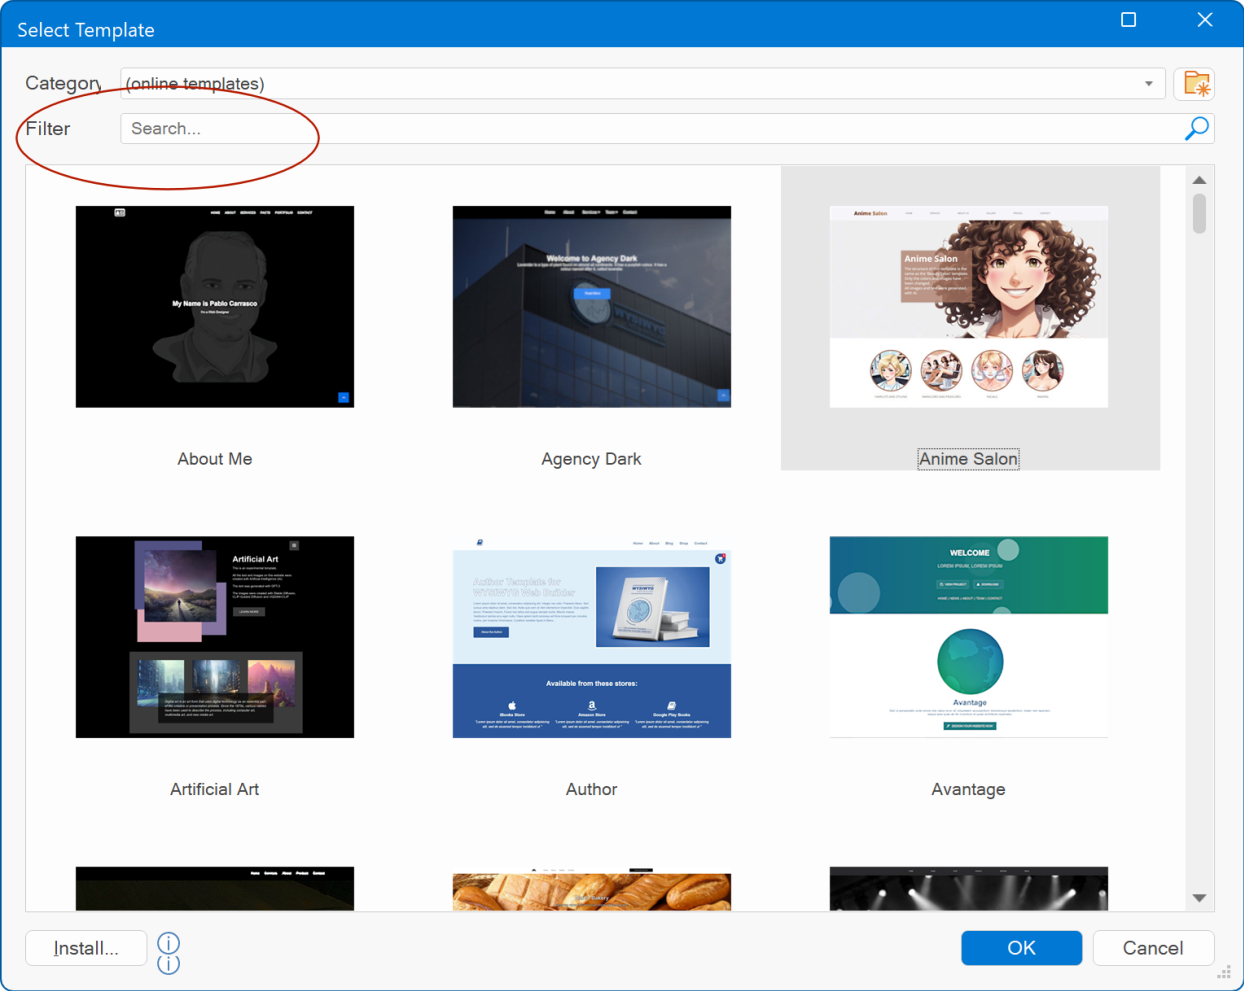
Also, all images from the new templates (25+) were generated with ComfyUI/Flux.