Image Converter
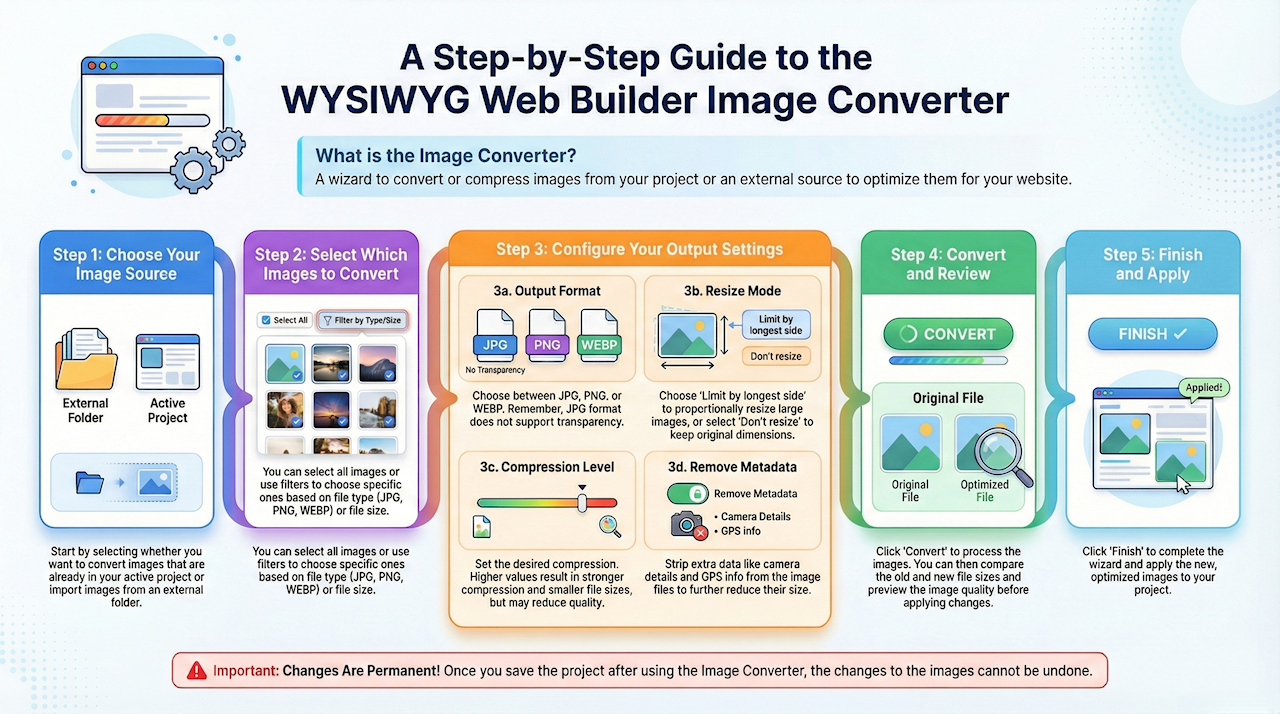
The Image Converter is a wizard that can be used to convert or compress images used by the project, but it also be used for external images!
Convert to jpg, png or webp format, set the maximum image dimensions and / or use compression to shrink the size of the images. It is also possible to remove meta data. When the tool is used for images used by the project, you can first preview the result before applying the new images to the project (automatically).
Convert to jpg, png or webp format, set the maximum image dimensions and / or use compression to shrink the size of the images. It is also possible to remove meta data. When the tool is used for images used by the project, you can first preview the result before applying the new images to the project (automatically).
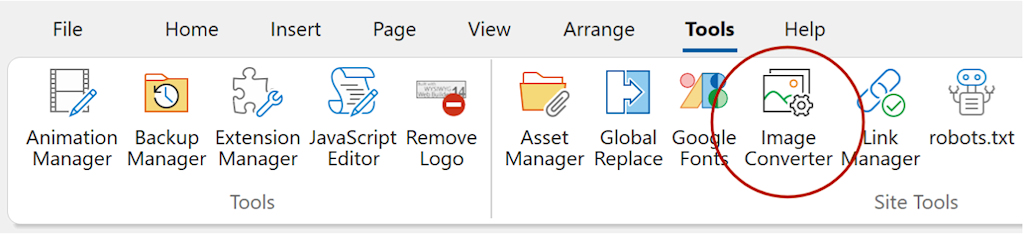
Click 'Image Converter' in the Ribbon or menu to launch the wizard.
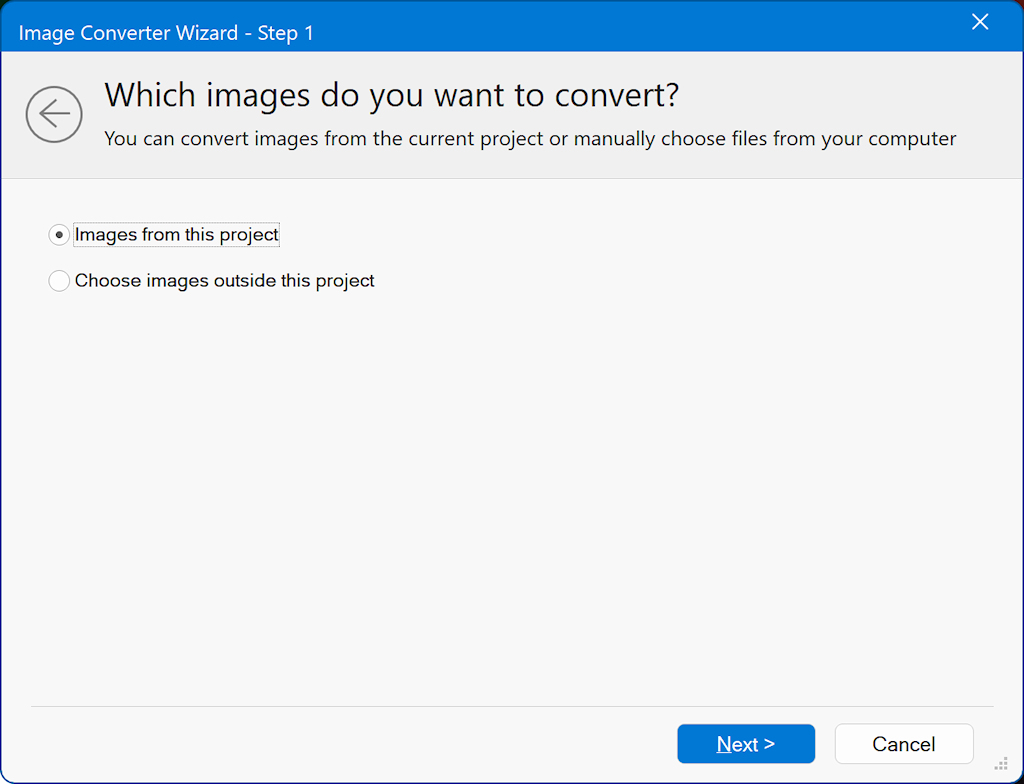
Step 1
In the first step. select if you want to convert Images from the active project or images outside the project.
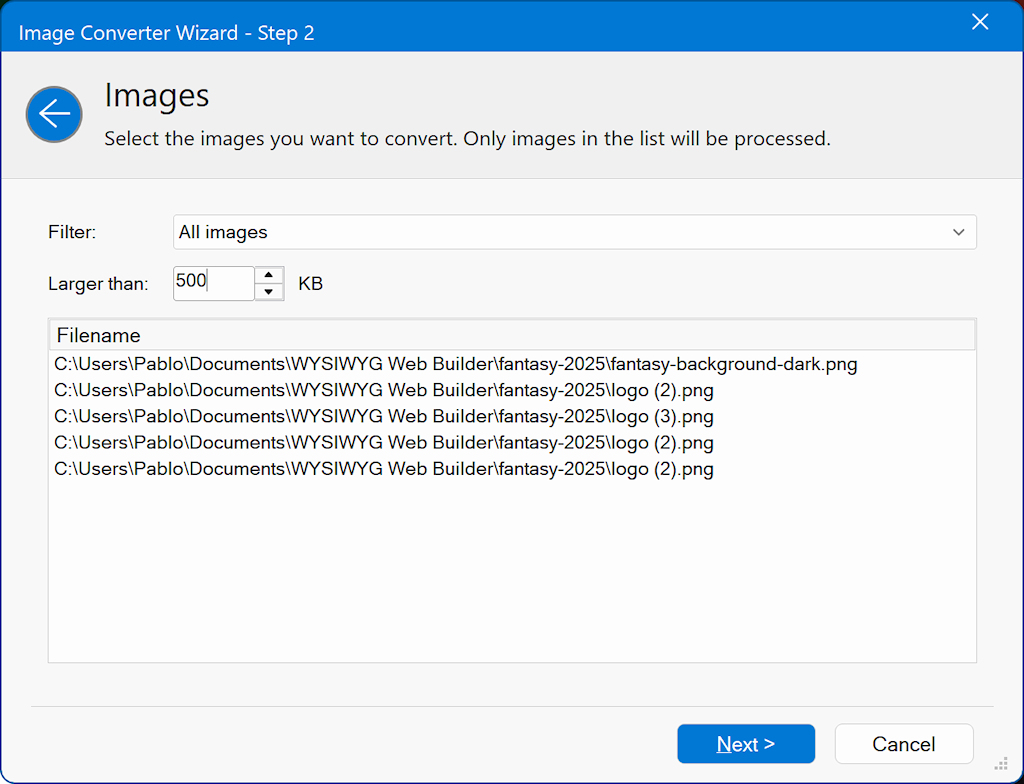
Step 2
In the second step, you can choose which images to convert. You can filter them by type (JPG, PNG, WEBP) or select only images larger than a specified size.
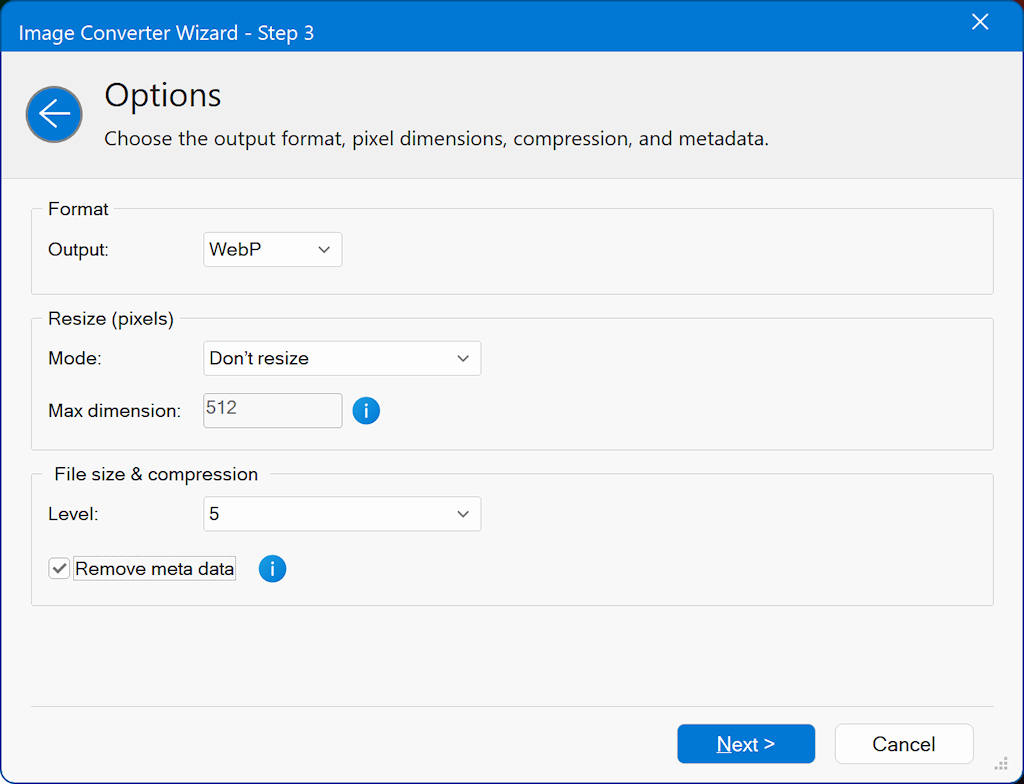
Step 3
In the third step choose the output format, pixel dimensions, compressions and meta data.
Format
Output format JPG, PNG or WEBP
Note: JPG does not support transparency!
Resize Mode
Limit by longest side: Adjusts the image based on its longest dimension. For example, if an image is 1280 × 768, the longest side is 1280. If you set the size to 1024, the final image will be resized proportionally to 1024 × 576.
Don’t resize: Keeps the original image dimensions unchanged.
Compression Level
Set the desired compression level. Different image formats use different compression methods, but generally, higher values result in stronger compression and smaller file sizes.
Remove Metadata
Images often contain metadata—such as camera details, creation dates, or GPS information. Removing this data can help reduce the overall file size.
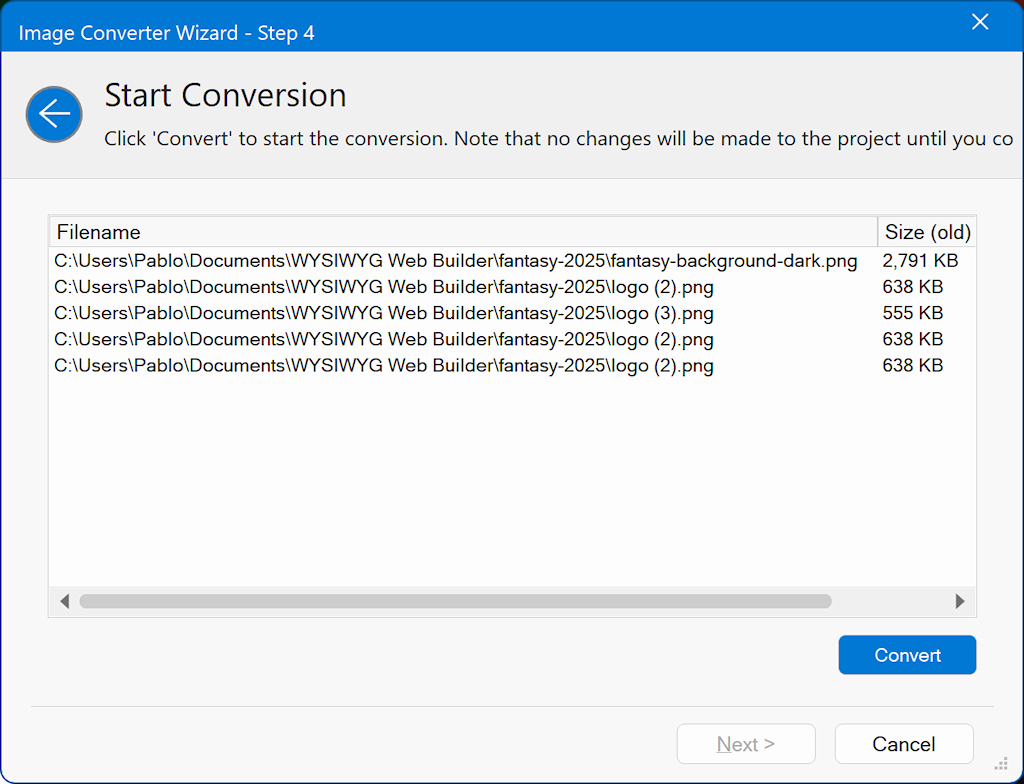
Step 4
In the 4th step, you will convert the images. Click the 'Convert'; button to start the conversion.
Note this may take a while depending on the size of your images and the number of images you have selected.
Note this may take a while depending on the size of your images and the number of images you have selected.
After the conversion, the file list will display both the old and new file sizes, allowing you to easily see the improvements.
You can also preview the images to check their overall quality before applying the converted versions to the project.
You can also preview the images to check their overall quality before applying the converted versions to the project.
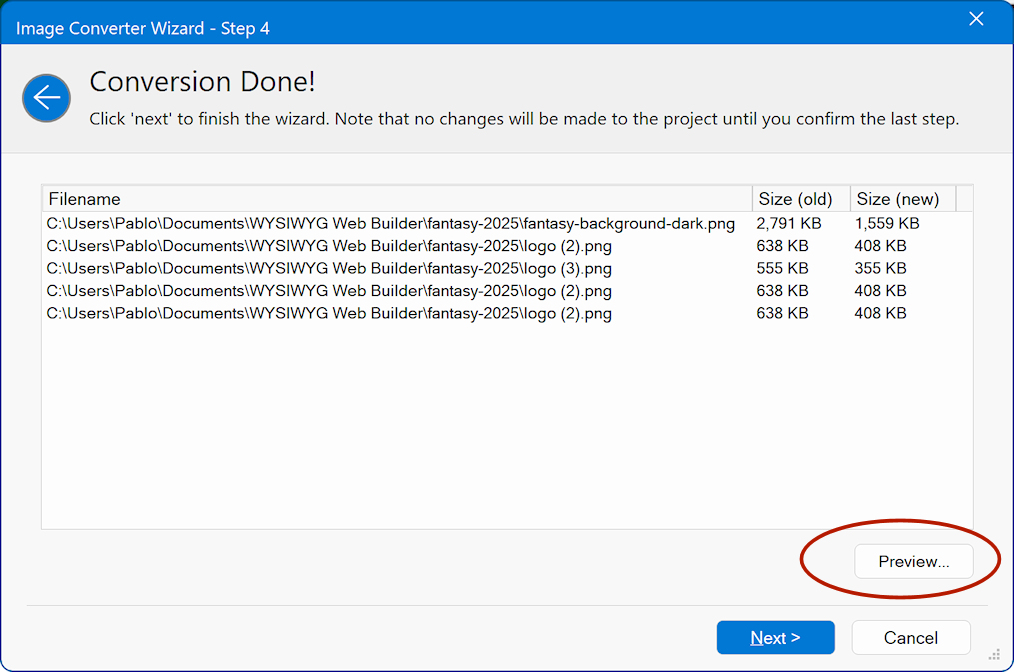
Click Next to continue to the final step.
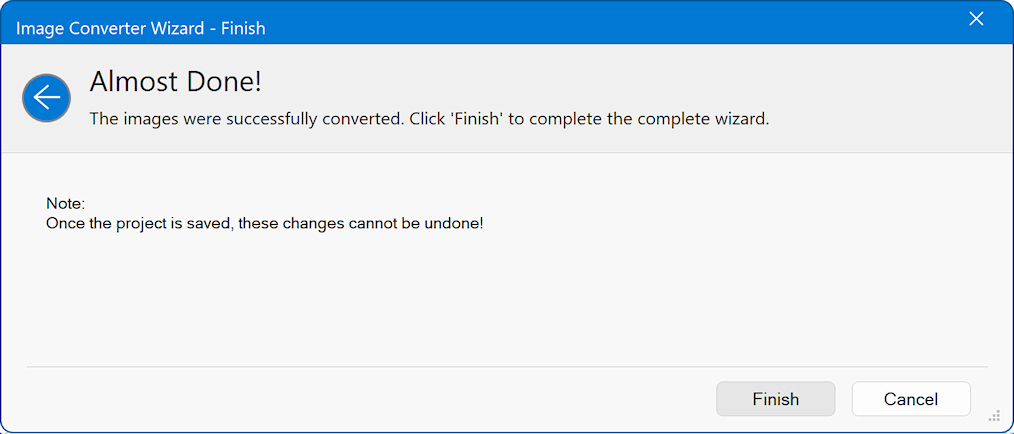
Finish
In the final step, click Finish to complete the wizard.
Note:
Once the project is saved, these changes cannot be undone!
Note:
Once the project is saved, these changes cannot be undone!