Tables

WYSIWYG Web Builder has several ways for adding tables to your website:
• Insert tables with the Table Object
• Insert (RTF) tables in standard text
• Data table extensions (for inserting data from CSV, JSON, MySQL etc.)
• Insert tables with the Table Object
• Insert (RTF) tables in standard text
• Data table extensions (for inserting data from CSV, JSON, MySQL etc.)
Add a table via the Table Object
The table object is a standalone object. A table has columns and rows of cells that can contain text, or other elements like (images, icons, shapes. Tables are useful for the layout of data; they can be used to create columns of text.
Notes:
- HTML tables are not responsive, this means that the structure is the same for all breakpoints
- Tables are not meant to be used for layout purposes (for example to create flexible layouts), use Layout Grids instead.
Notes:
- HTML tables are not responsive, this means that the structure is the same for all breakpoints
- Tables are not meant to be used for layout purposes (for example to create flexible layouts), use Layout Grids instead.

To edit the contents of table cells, double click inside the cell to go into edit mode. This works the same as editing standard text. When typing text in a table cell, it expands horizontally and vertically to accommodate the text that are typed or inserted. It's possible to change the format (font-size, font-weight, font-family, color etc), and specify properties (background color or image) for the text, as well as for the table cell, row, column, or table itself. Also, cells, columns, rows or the entire table can be resized by the dragging the borders.
Insert Table
Draw a box where you want to position the table. The Insert Table dialog appears. Enter the number of cells and rows required.
Enter layout and size details and click on OK
Insert Table
Draw a box where you want to position the table. The Insert Table dialog appears. Enter the number of cells and rows required.
Enter layout and size details and click on OK

Insert Rows or Columns
Extra rows and columns can be inserted via the main menu, Ribbon or context menu (right click).
Merge Cells
Merge two or more adjacent cells
This command is only available when two or more adjacent cells are selected on the same row.
Split Cell
Split the selected cell into columns.
Delete Column
Select this option to delete the selected column.
Delete Row
Select this option to delete the selected row.
Table Column Width
Set the column width for the selected column.
Table Row Height
Set the row height for the selected row.
Cell Properties
This option will display the properties of the selected cell.
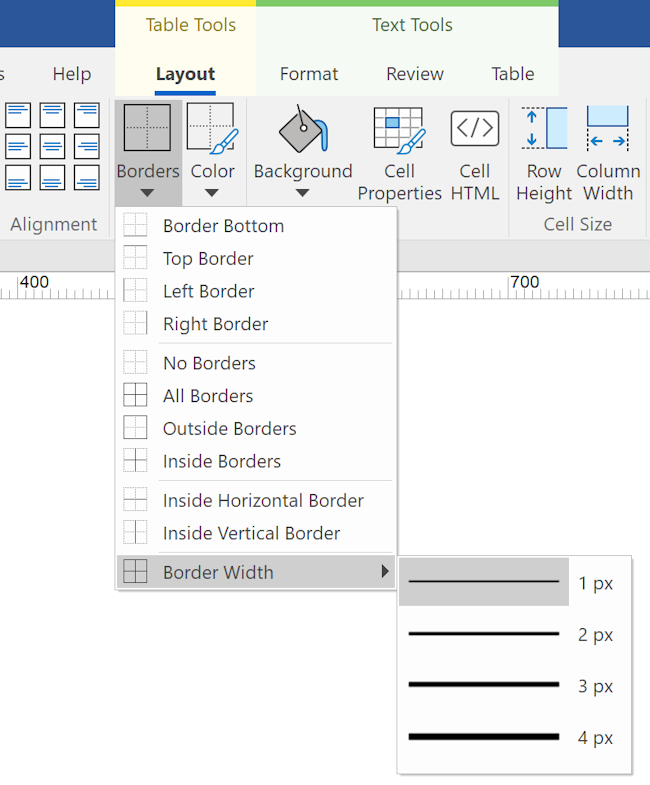
Table Styles Gallery
The Table Styles gallery (in the Ribbon) allows you to quickly update the style of your tables.
You may know this feature from MS Office. 30 predefined styles are currently available.
You may know this feature from MS Office. 30 predefined styles are currently available.

Table Tips
• While resizing the table hold down the Ctrl-key to resize last column/row of a table with affecting the size of the other columns/rows.
• To select multiple cells hold down the Ctrl-key while selecting the cells.
• To select the whole row, move the mouse cursor to the left border of the first cell.
• To select the whole column, move the mouse cursor to the top border of the first cell.
• To change the properties of multiple cells in one action, first select the cells and then click Cell Properties.
• To change the font and size of multiple table cells: Select multiple cells -> hold down the SHIFT key and click cell properties.
Add a (RTF) table in the text object
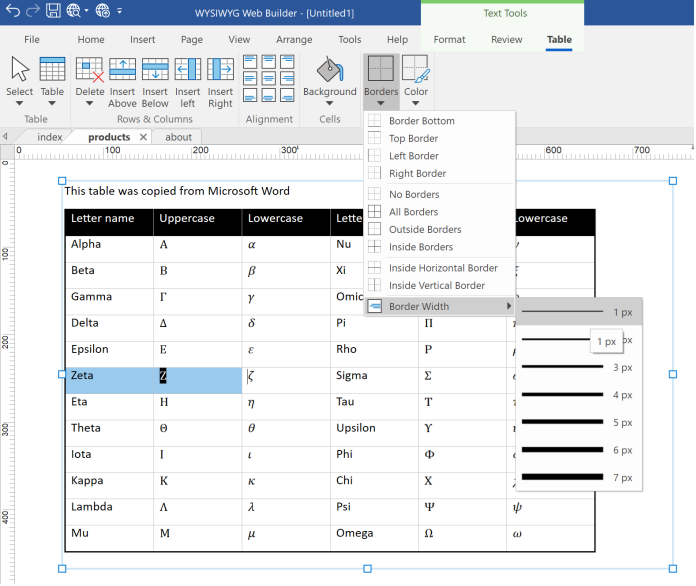
It is also possible to directly insert (Rich Text Format) tables in a text object. With the ability to set the cell background color, border color and with. Columns and rows can be resized with the mouse. The formatting (font family, font size, color etc.) can be set for multiple cells at once. You can even copy/paste table from Word or Excel. Note however that RTF does not support all Office features.
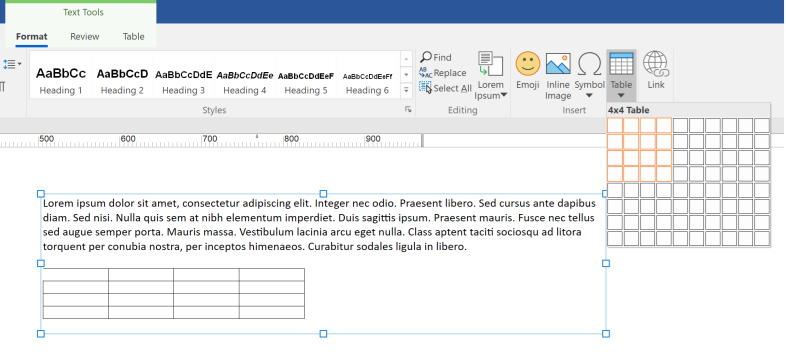
You can insert a new table via the toolbar, context menu or by entering the following characters
+----------+-------+ and pressing enter.
TAB key
In a table cell, the Tab key goes to the next cell and Shift+Tab goes to the previous cell (if any).
If the selection is in the last cell of a table, the Tab key inserts a new row after the last row.
Enter key
At the end of a table row, the Enter key inserts a new row after the current row.
Important: This is standard Windows functionality. Unfortunately, there are some limitations but we decided to make it available anyway because it may be a useful feature for some users. Please see the help for the latest information.
Data table extensions
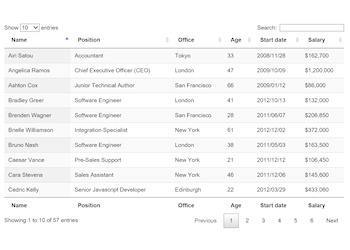
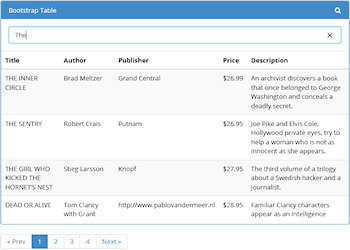
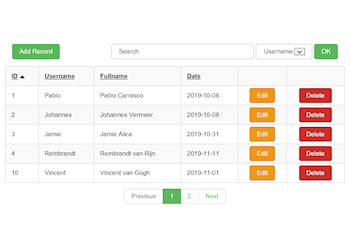
The previously describe options use static data. But it's also possible to create a dynamic table by loading data from MySQL, JSON or a CSV file.
Available data table extensions:
• Database Tables
• Bootstrap Table
• Responsive Table
• Mobile Friendly Table
• Collapsible Table
• CSV Create, Update, Update and Delete
• MySQL Create, Update, Update and Delete
Available data table extensions:
• Database Tables
• Bootstrap Table
• Responsive Table
• Mobile Friendly Table
• Collapsible Table
• CSV Create, Update, Update and Delete
• MySQL Create, Update, Update and Delete
