How to use PHP to collect Form data?
Before you read this tutorial please make sure you understand the basics of creating forms as explained in this article: Creating Forms. We assume you have already created your form and now your next step will be to collect the entered data after the users pressed the Submit button.
In this tutorial we will use PHP to collect the form data, because the mailto: action which was used in the Creating Forms tutorial is not the most reliable way to collect data in a form.
For more detail about this please read this article: https://forum.wysiwygwebbuilder.com/viewtopic.php?t=135
Notes:
• Make sure your webserver supports PHP otherwise this solution will not work!
• Recent versions of WYSIWYG Web Builder do have a built-in PHP form processor. When using that option you do not need to write any code manually. *** Recommended for beginners! ***
Step 1
Create a new page in Web Builder and call it feedback.
This is the page that will be displayed after the data has been submitted, so this page may contain a 'thank you for your submission' message or any other content you prefer.

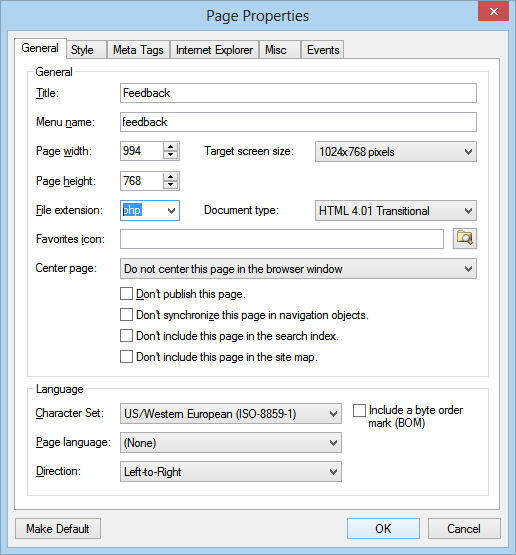
Step 2
Open the page properties of the new page and set the file extension to PHP.
Open the page properties of the new page and set the file extension to PHP.
Step 3
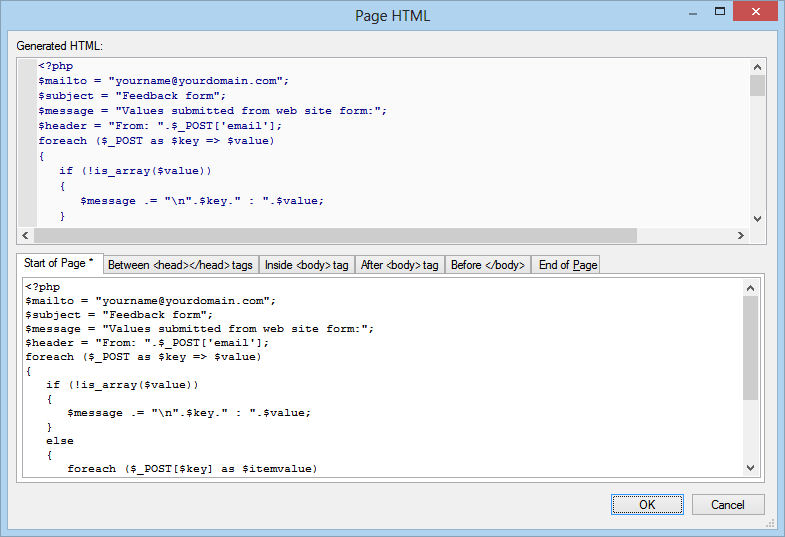
Open Menu->Page->Page HTML, select Start of Page and copy/paste this code:
<?php
$mailto = "yourname@yourdomain.com";
$subject = "Feedback form";
$message = "Values submitted from web site form:";
$header = "From: ".$_POST['email'];
foreach ($_POST as $key => $value)
{
if (!is_array($value))
{
$message .= "\n".$key." : ".$value;
}
else
{
foreach ($_POST[$key] as $itemvalue)
{
$message .= "\n".$key." : ".$itemvalue;
}
}
}
mail($mailto, $subject, stripslashes($message), $header);
?>
Note:
Your form should have a field wit hthe name email, this field will be used as sender of the mail message!
Step 4
Replace yourname@yourdomain.com with your own email address.
Step 5
Go back to the page with your form and set the action property of the form to feedback.php.
Verify that the method is set to POST.
Also remove the content of the encodingtype field so that it's empty.
Replace yourname@yourdomain.com with your own email address.
Step 5
Go back to the page with your form and set the action property of the form to feedback.php.
Verify that the method is set to POST.
Also remove the content of the encodingtype field so that it's empty.

Step 6
Now you can publish the 2 pages and test your form.
Note:
You can not test a PHP form on your local computer, the script must be executed on a web server with PHP support!
Now you can publish the 2 pages and test your form.
Note:
You can not test a PHP form on your local computer, the script must be executed on a web server with PHP support!